
Reviewing requests
Booking requests land in Bookings > Request queue as soon as anyone submits one, whether that’s a guest on your marketing site, or your own team entering one on the phone (see Taking phone bookings). Every request starts out Pending and stays that way until someone on your team moves it forward. This page covers the recommended process for triaging that queue.
Step 1: Turn on notifications
Section titled “Step 1: Turn on notifications”Enable push notifications for the request queue at Settings > Push notifications. Requests can come in at any time, and this helps your team respond faster.
Floatist also emails your Support email (set at Settings > Global settings) automatically whenever a new request comes in, no separate setup required. If no support email is set, the public Company email is used instead; if neither is set, only the push notification goes out. See Emails for the full list of what’s sent and when.
Step 2: Review the request
Section titled “Step 2: Review the request”When a request comes in, open it from the request queue.
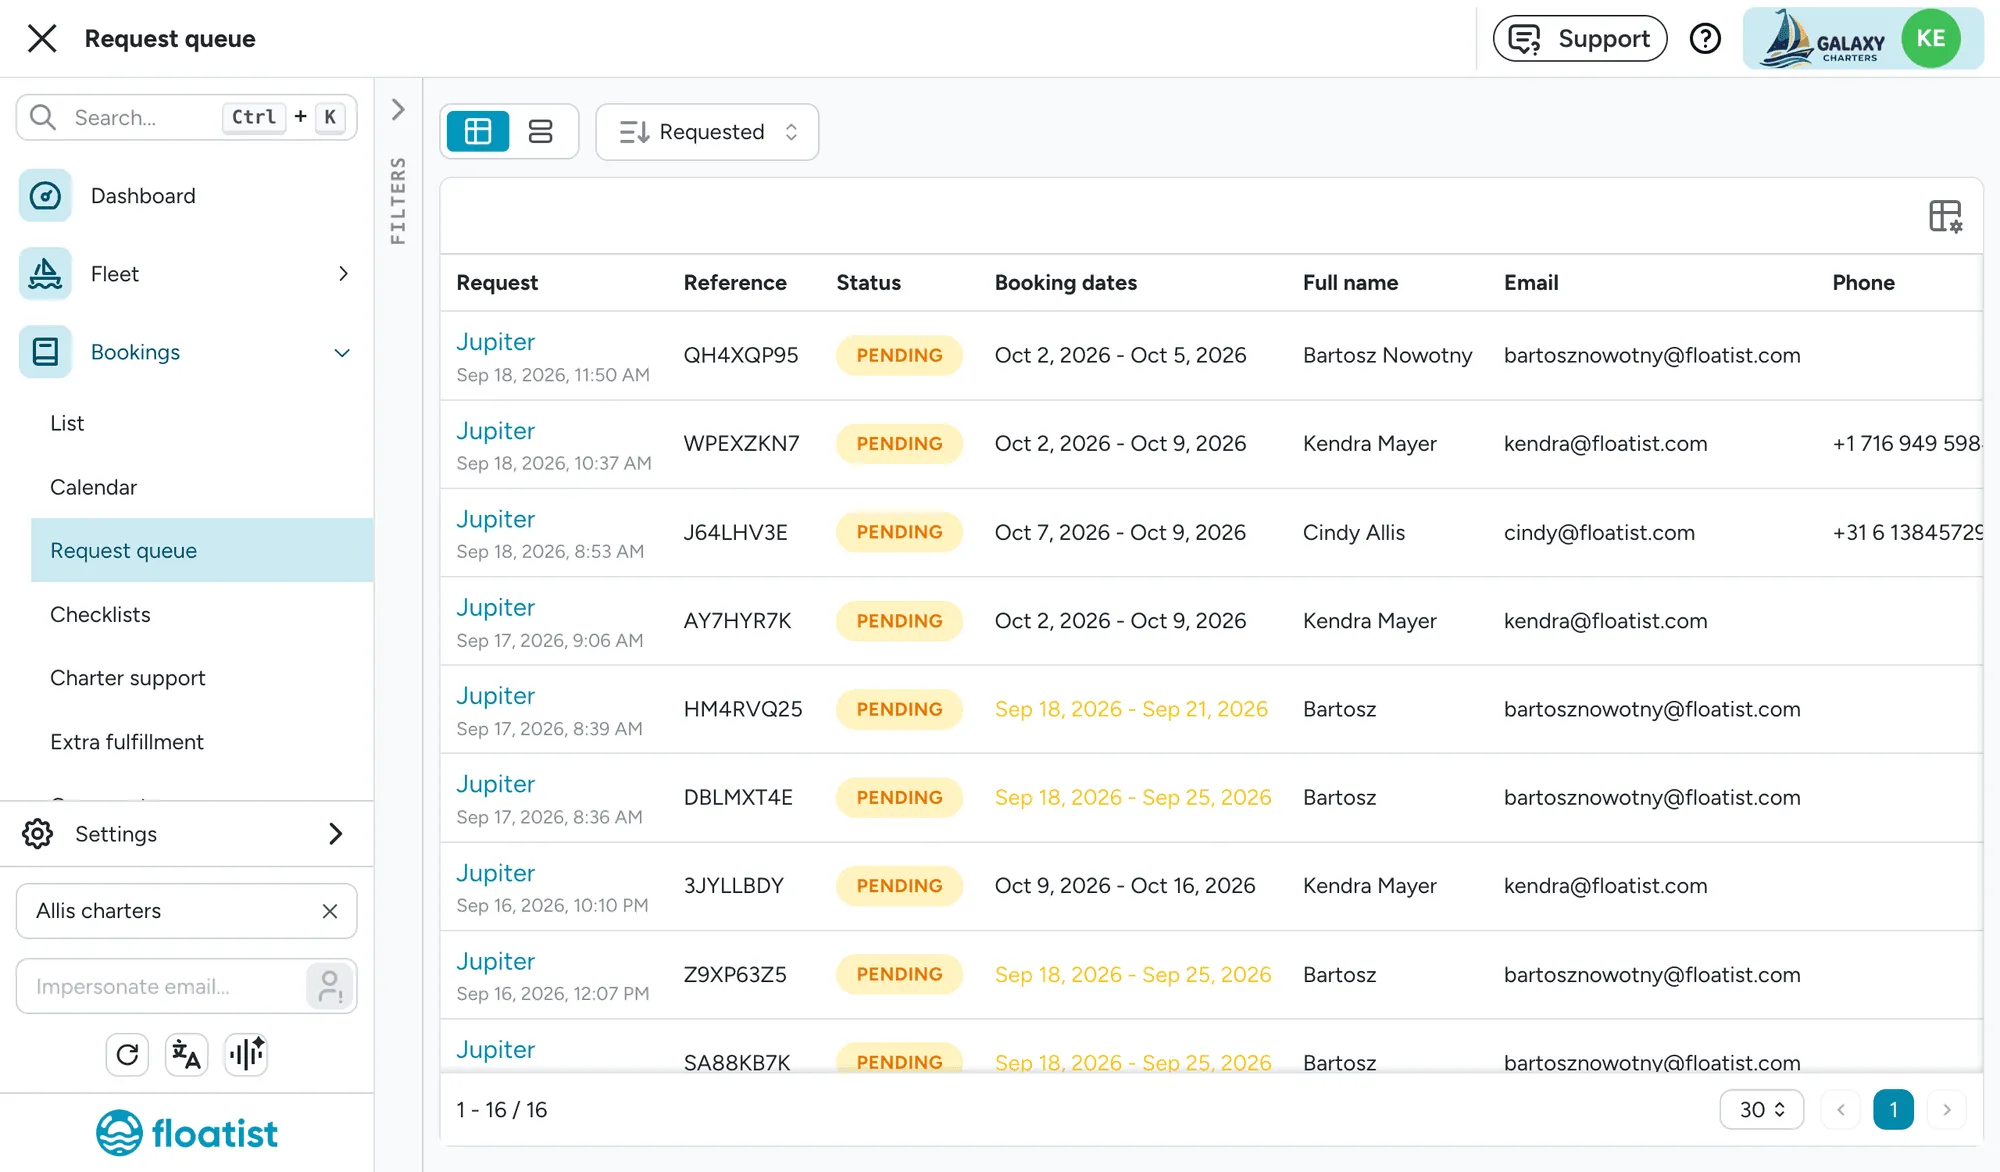
Each request shows:
- A short reference number, which carries over to the booking if the request is accepted, and appears in the guest’s emails and, if payments are on, on their bank statement. See What the guest sees on their bank statement.
- The yacht and requested dates
- Guest contact details, and their language, if known (also the language their emails are sent in)
- Any additional requests the guest included
- The price breakdown, including the amount due at booking (initial payment) and the amount charged later
- Payment status, if your account has online payments enabled. See Payments
Use this information to double check availability and review any additional requests.
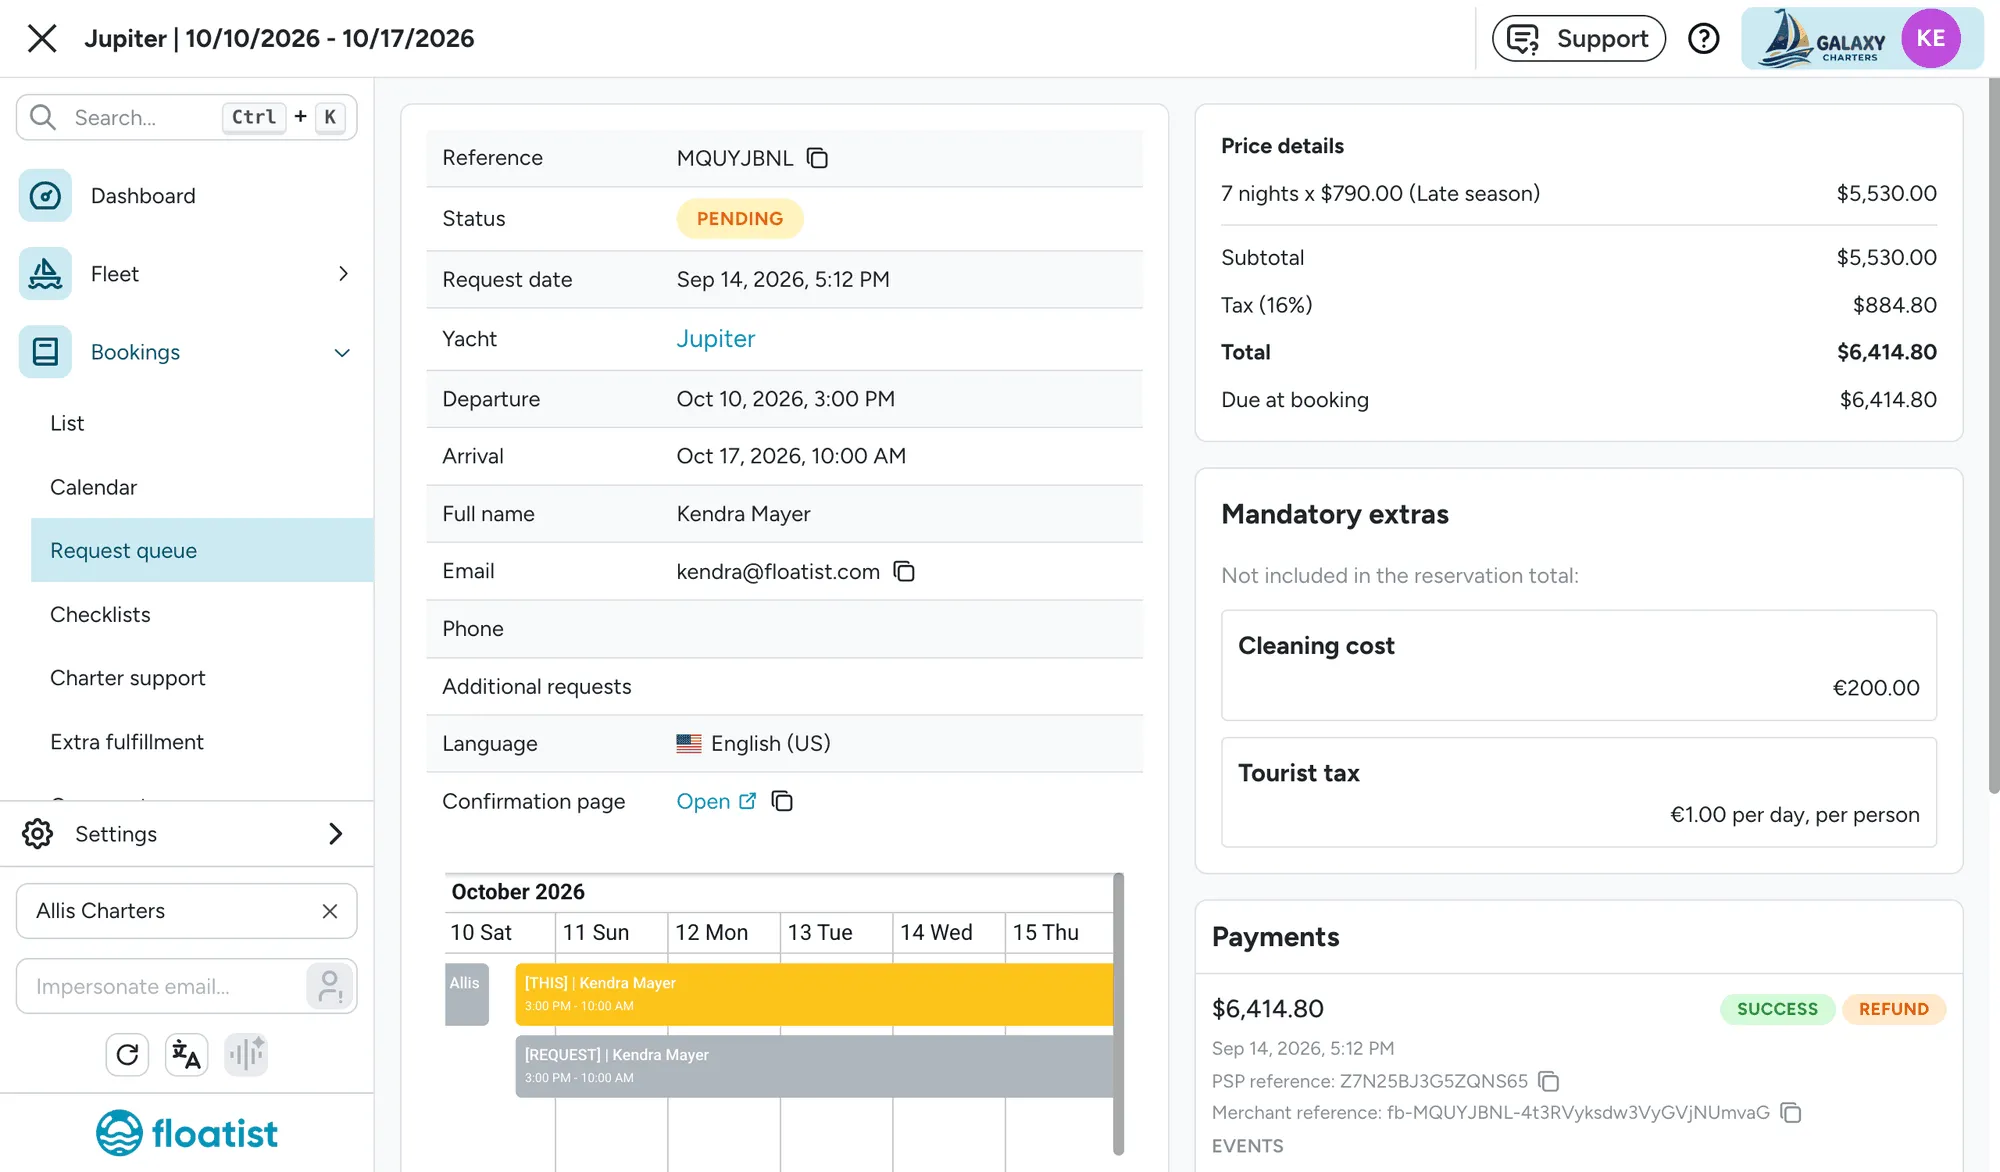
A copyable link to the guest’s confirmation page is also shown here. It’s the same page the guest saw after submitting, and where they pay if your account takes online payments. Staff can share that link with a colleague or with the guest, or open it directly. See Confirmation page for how to use this link to get a guest to payment after a phone call.
Step 3: Contact the guest
Section titled “Step 3: Contact the guest”Reach out to the guest directly, by phone or email, to confirm details, answer questions, and walk them through next steps.
Step 4: Decide the outcome
Section titled “Step 4: Decide the outcome”Every request ends in one of two ways: it is created into a booking (accepted) or archived.
Create a booking to accept the request
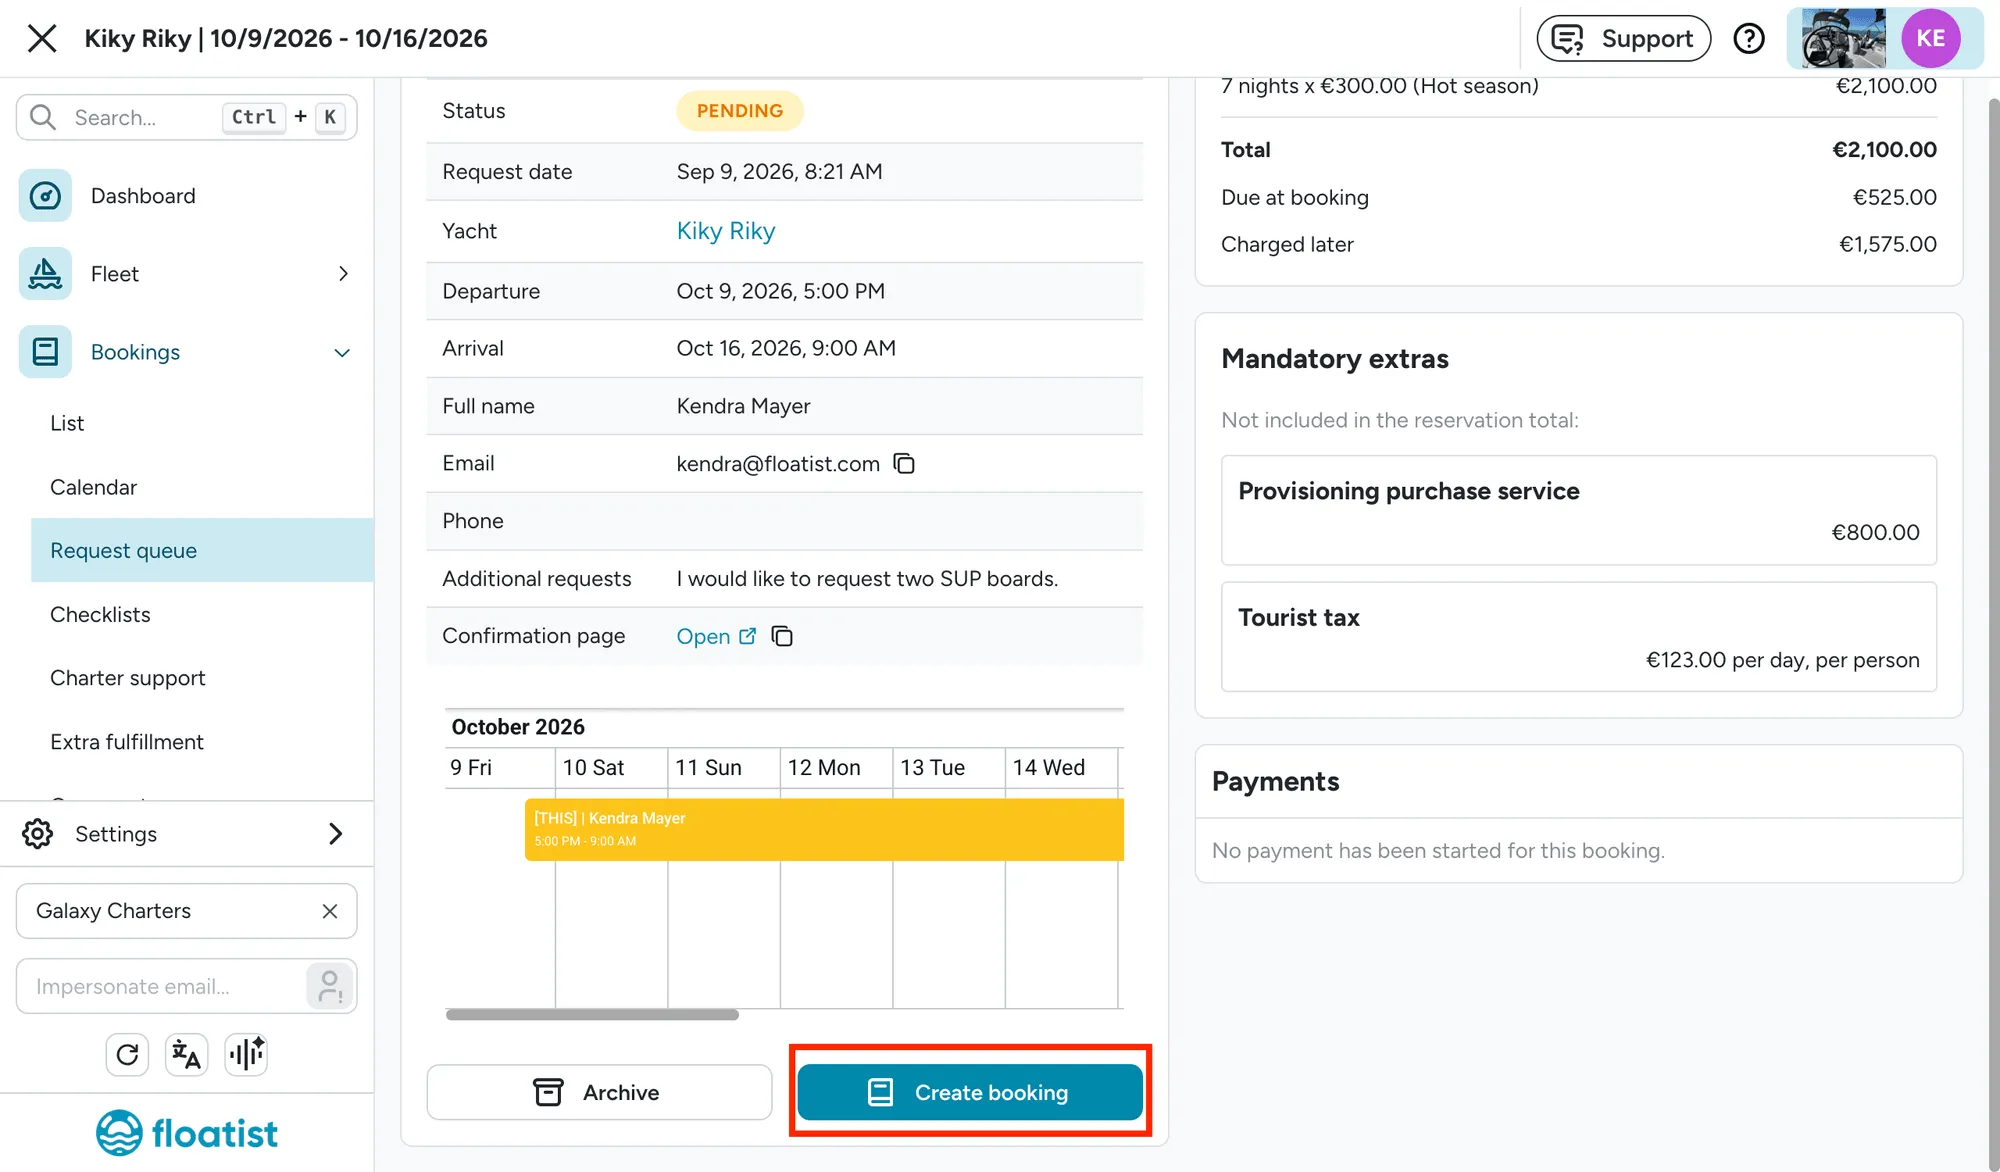
Section titled “Create a booking to accept the request”Once the guest confirms they’re ready to move forward and makes the required initial payment (the “Due at booking” amount shown in the request), confirm the booking directly from the request queue using Create booking. This converts the request into a confirmed booking on your calendar.
Archive the booking request
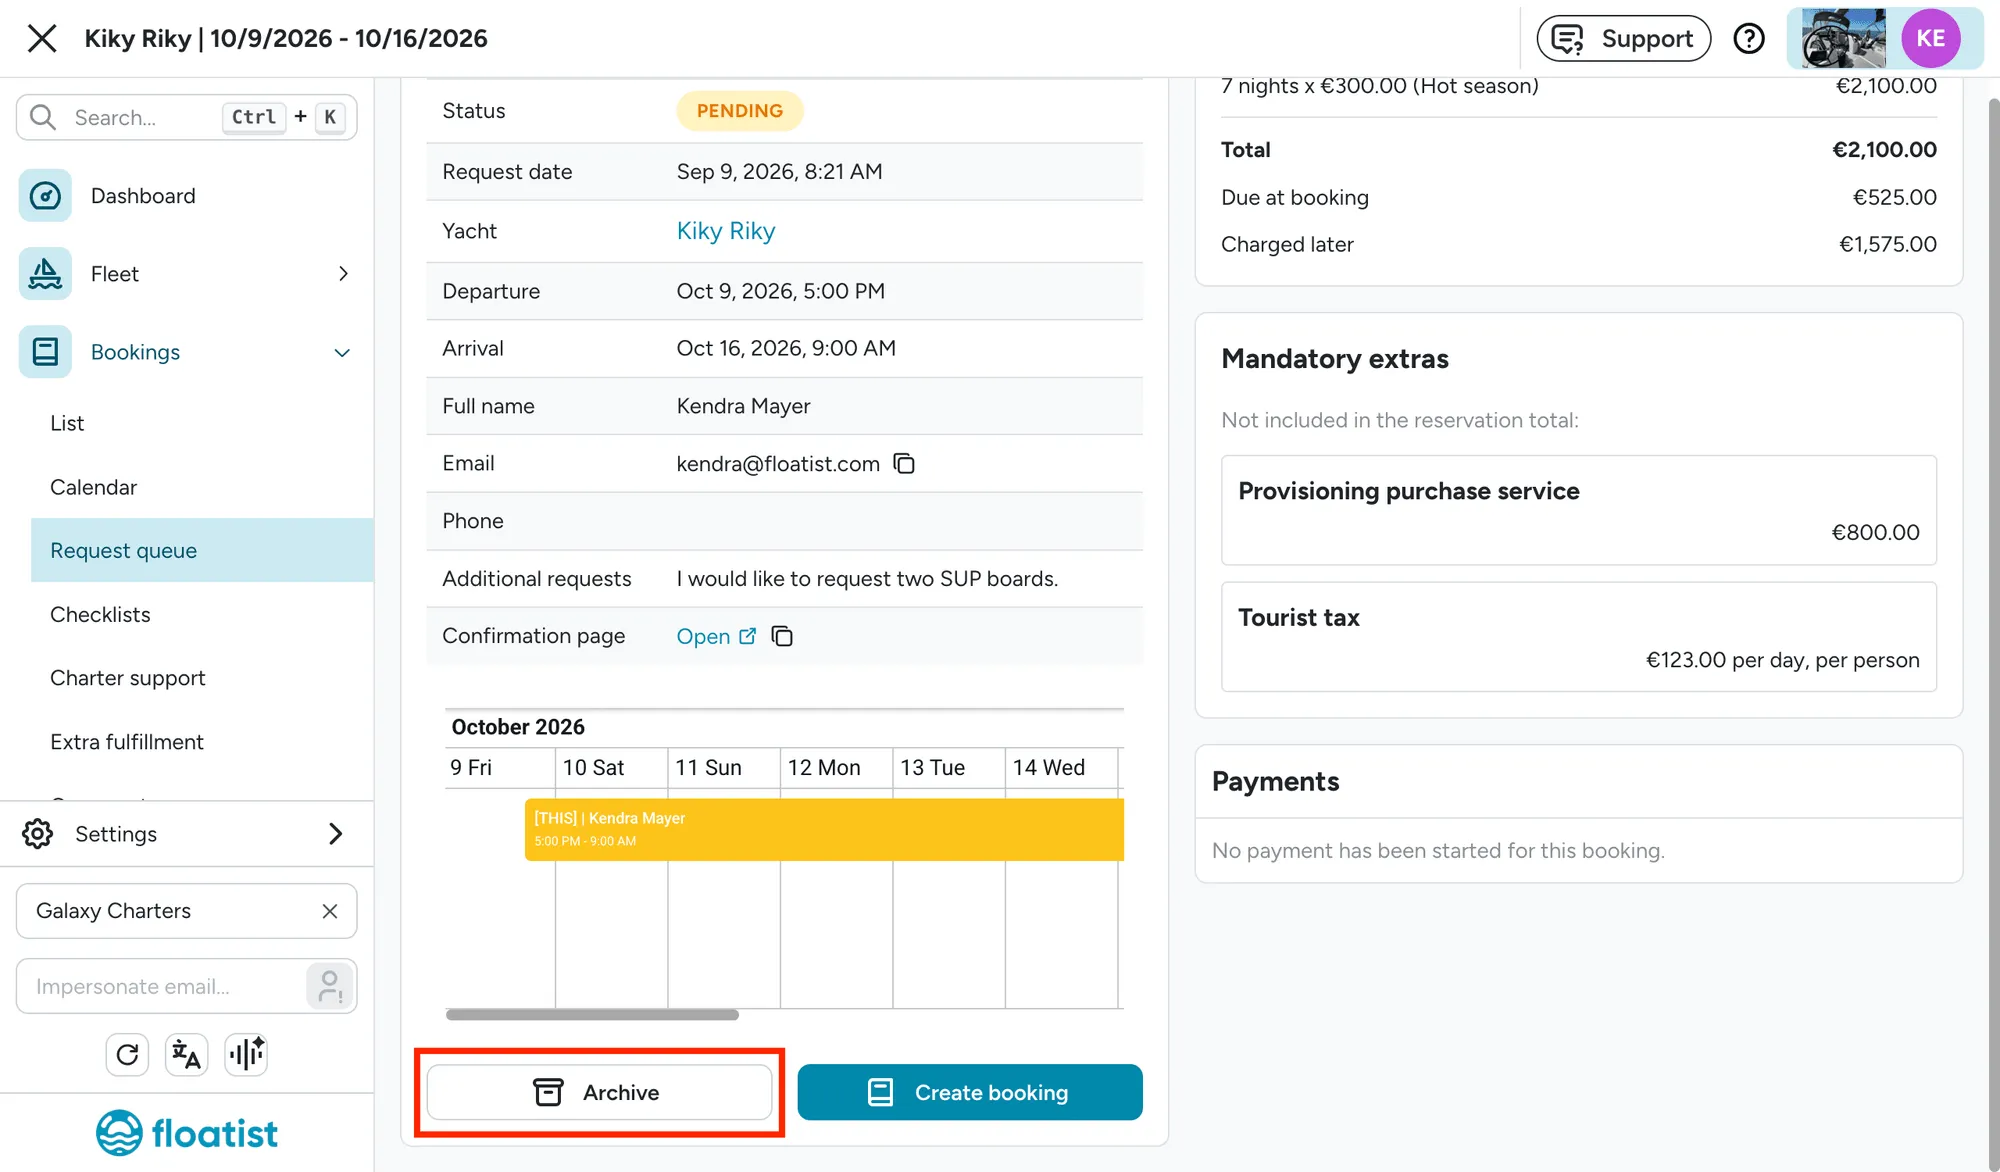
Section titled “Archive the booking request”If the guest decides not to book, or wants a different date or boat after you’ve spoken with them, archive the request. Archiving clears it from the active queue without creating a booking, and without sending the guest anything. Don’t leave the original request pending.
Step 5: Send Guest App Link from Confirmed Booking
Section titled “Step 5: Send Guest App Link from Confirmed Booking”When the booking is confirmed, the next recommended step is to send the guest app link to the customer in advance of the charter. See Share the guest login link for best practices.