
Boat plans
Floatist supports placing checklist items on a visual boat plan, so staff and guests can see exactly where each item is during checks. Setup happens in two phases: first you assign a plan to the boat, then you map the items from a configuration onto that plan.
Phase 1: Assign a plan to the boat
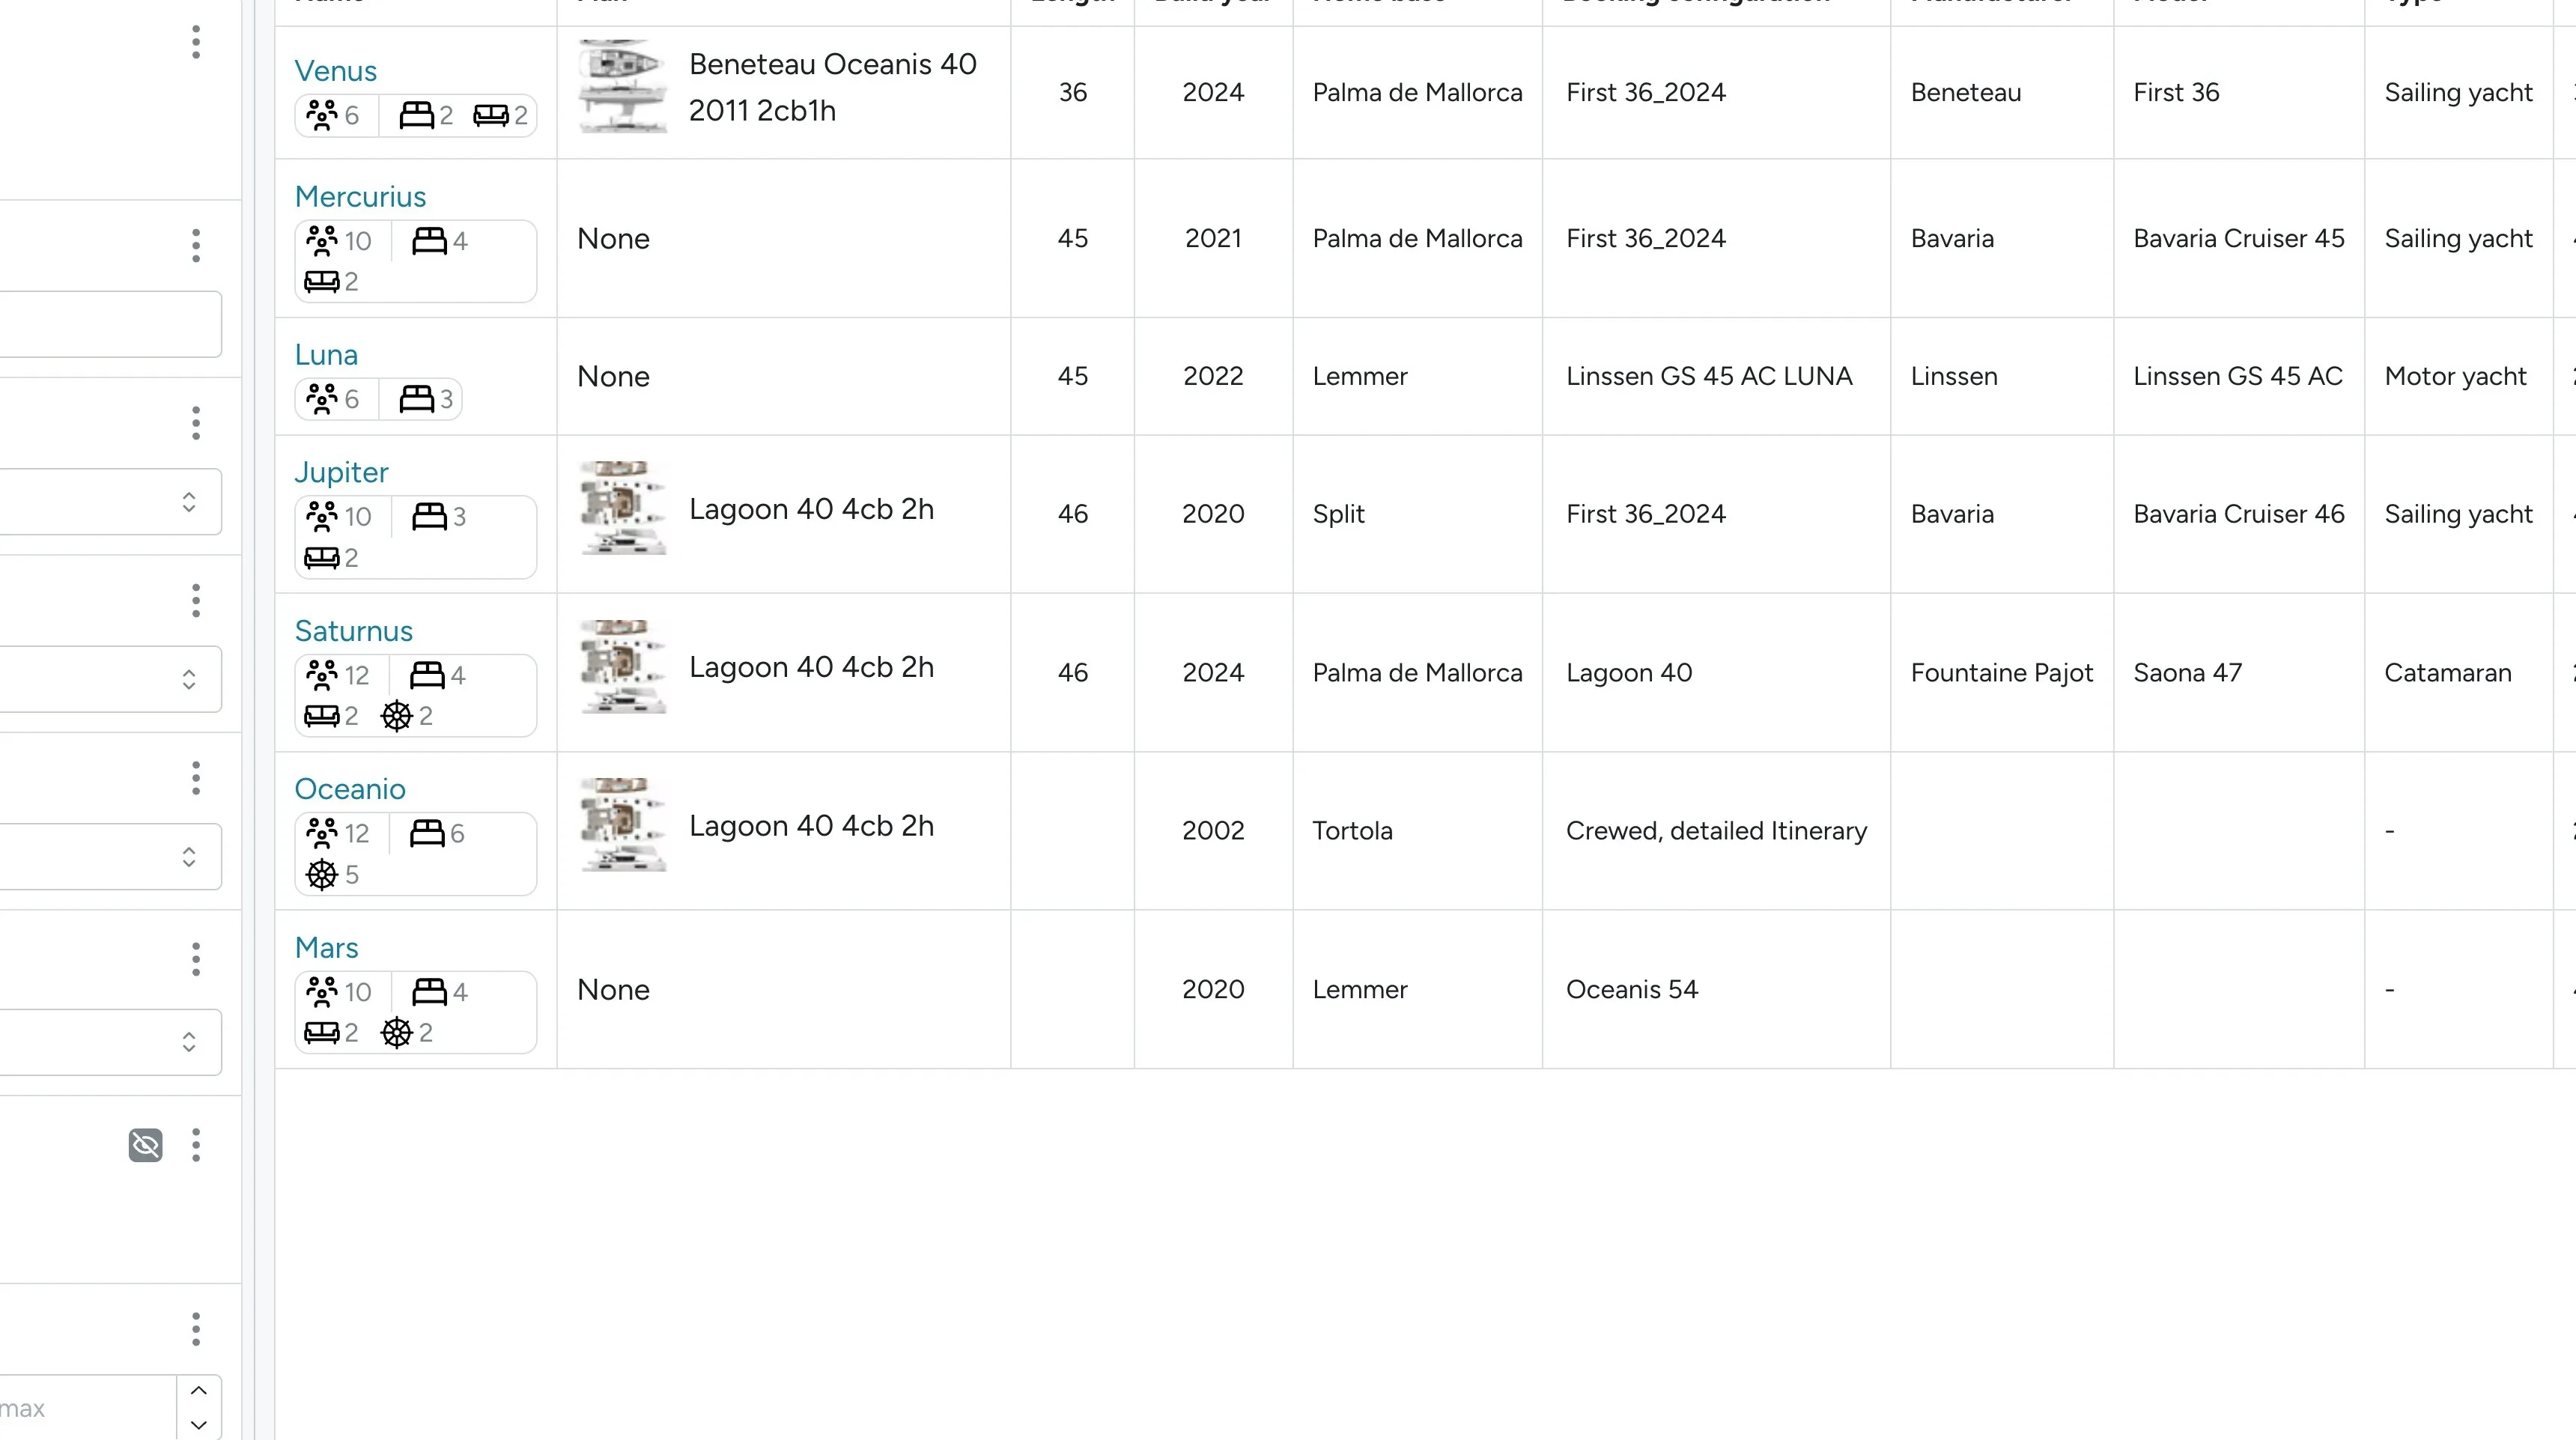
Section titled “Phase 1: Assign a plan to the boat”1. Open the fleet setup page
Section titled “1. Open the fleet setup page”Navigate to Settings > Fleet and make sure the boat you want to assign items on a floorplan for has a plan selected.
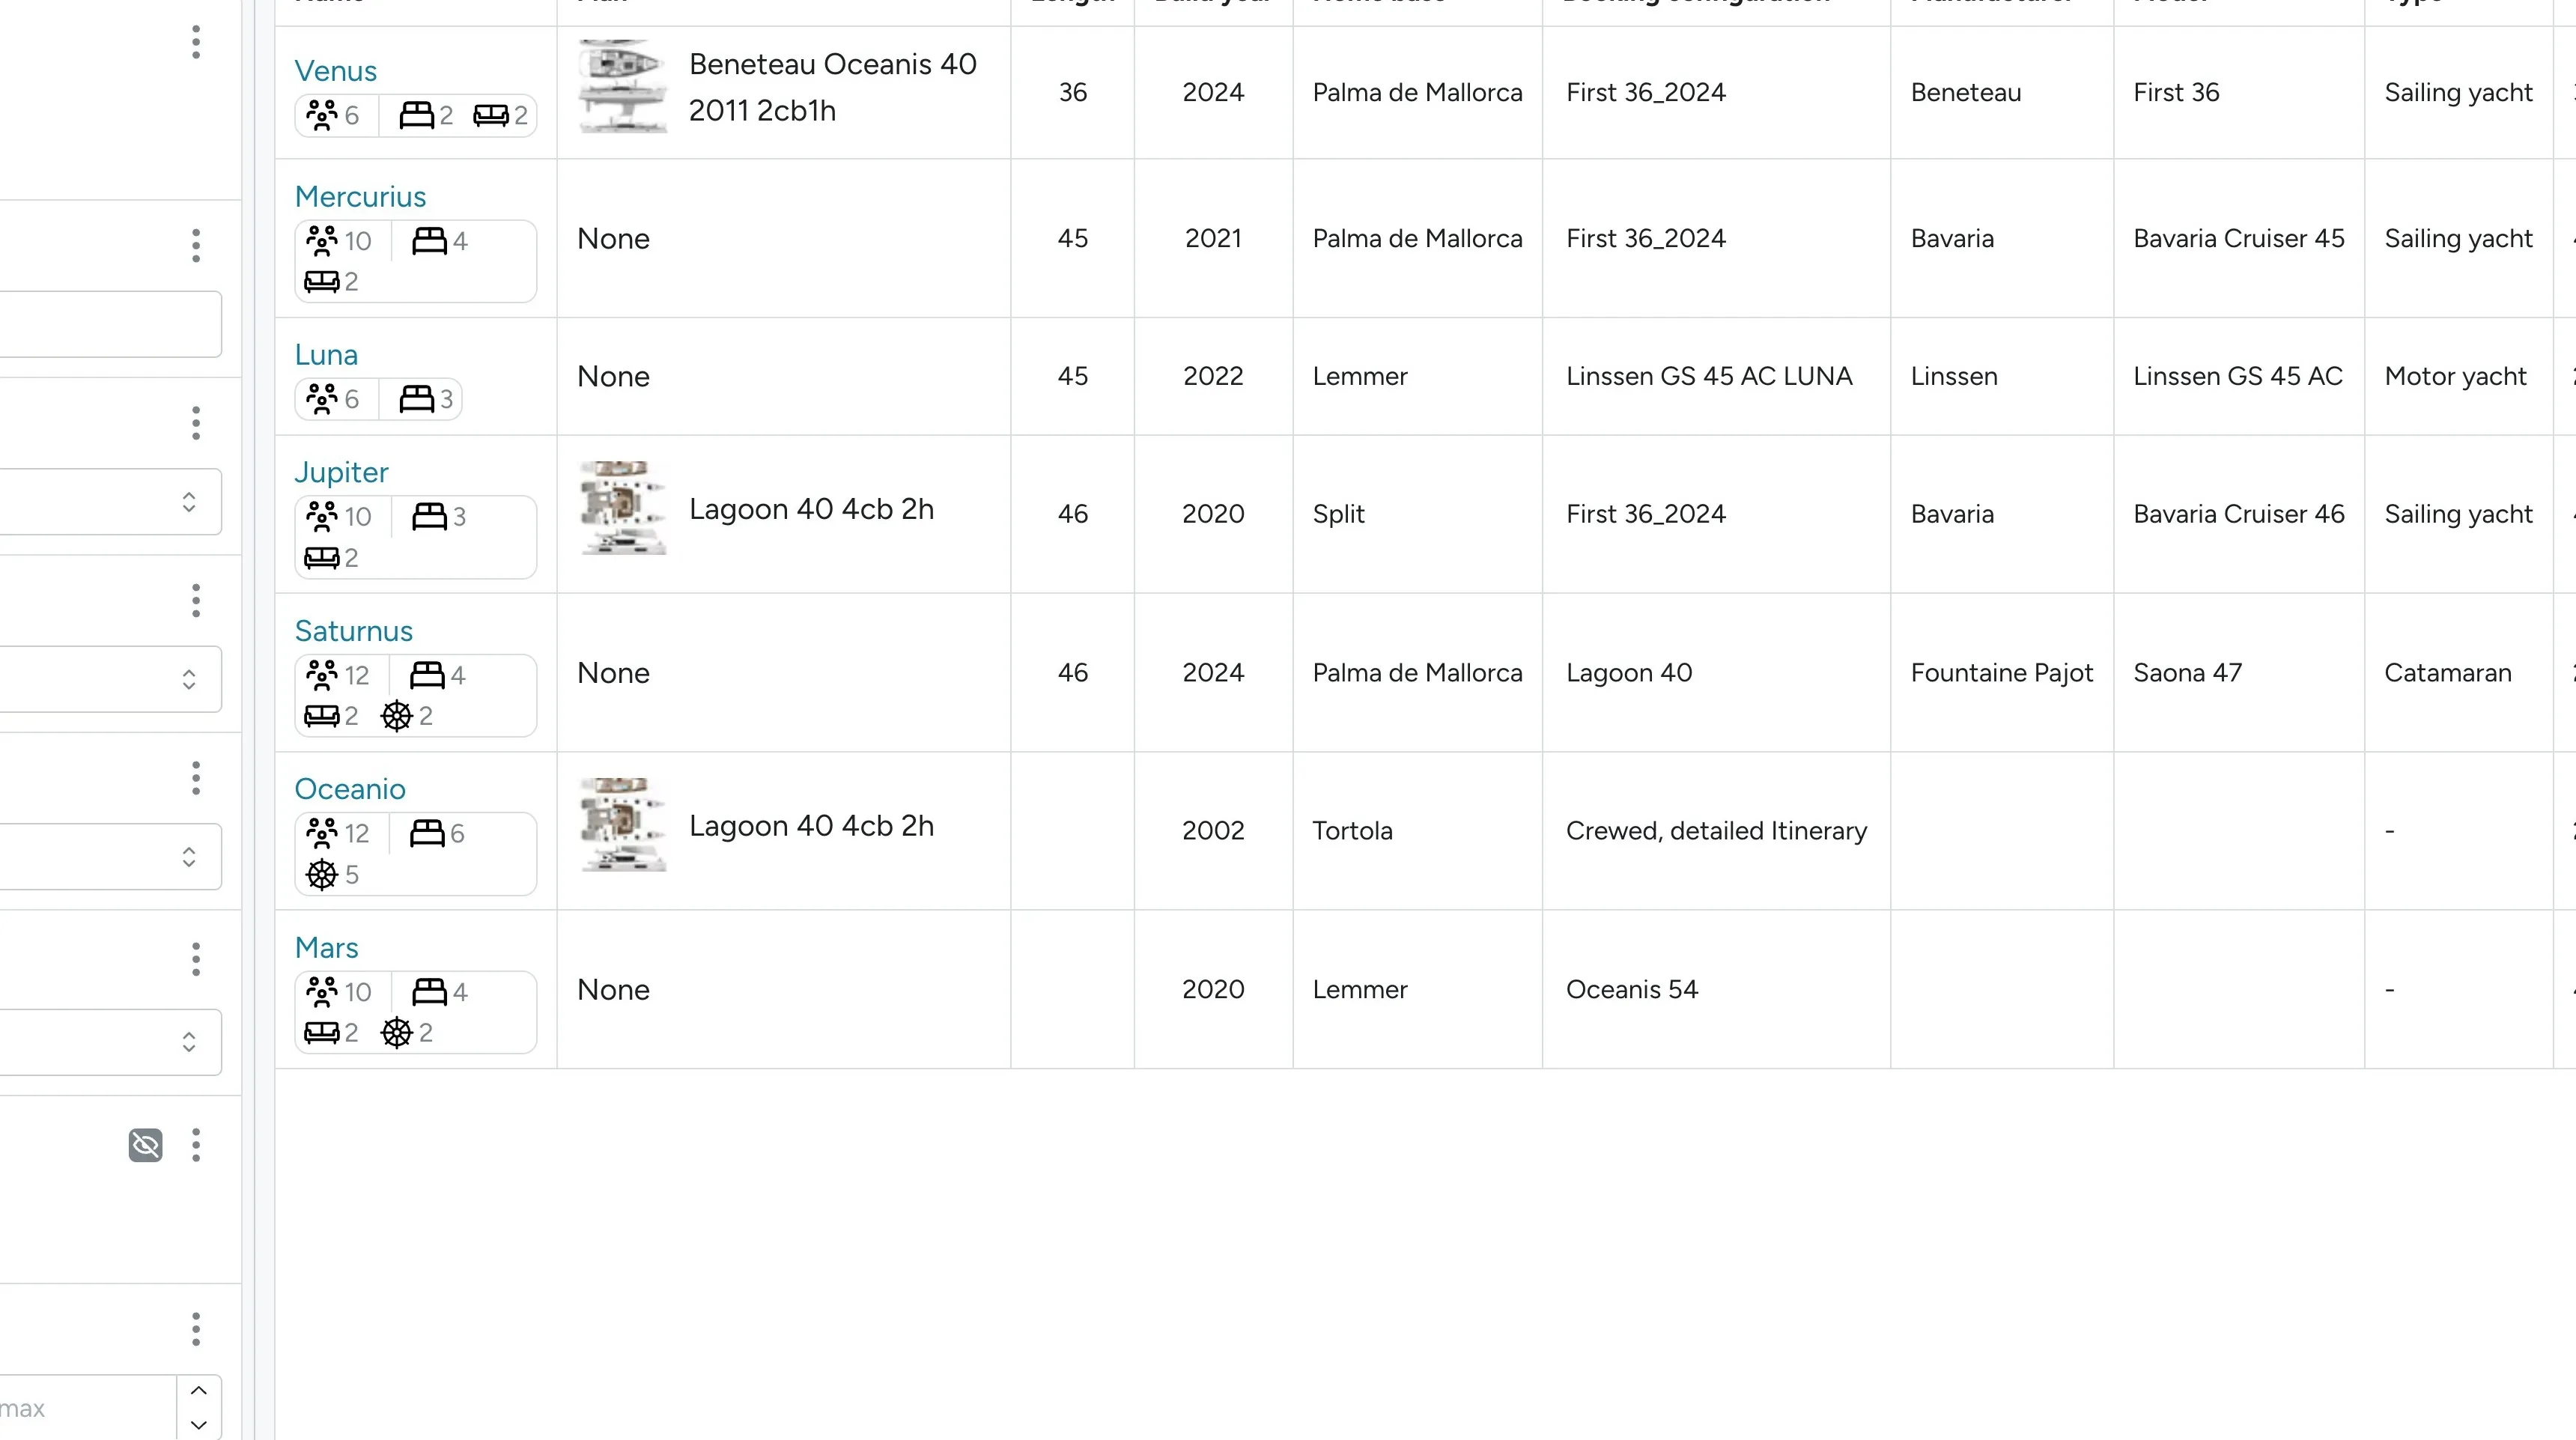
2. Open the plan picker
Section titled “2. Open the plan picker”Click the Search plan field.
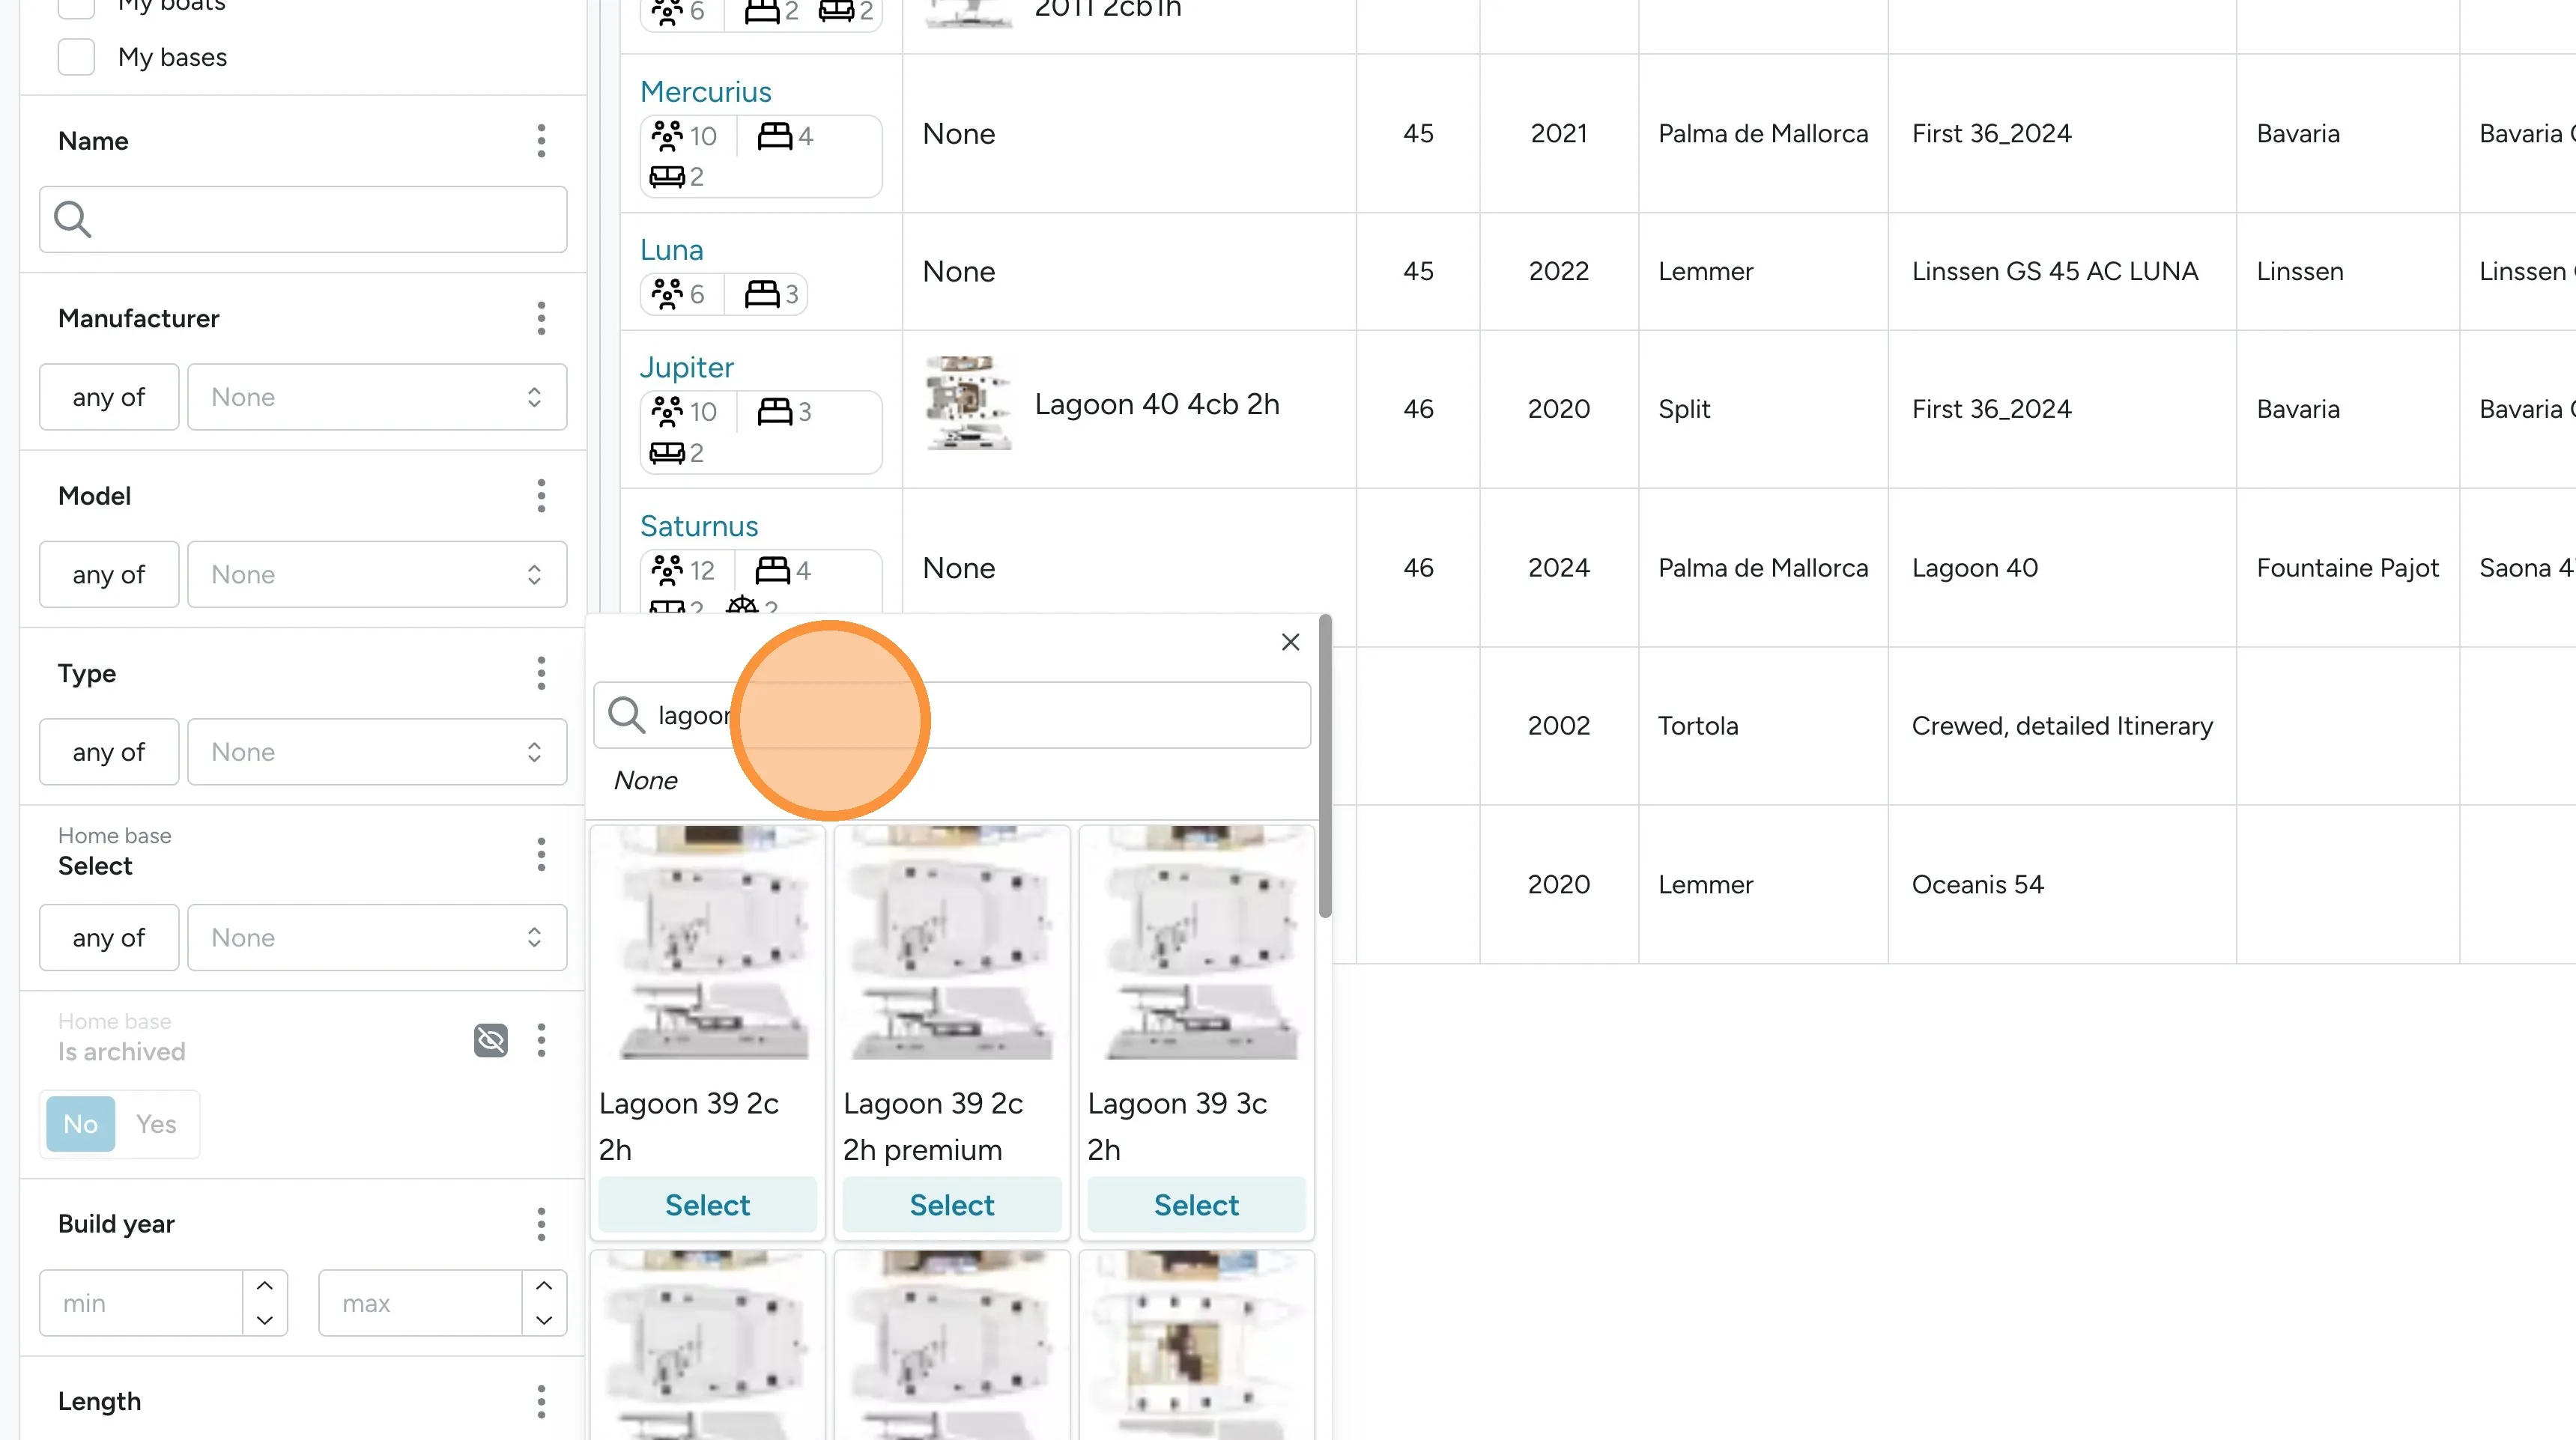
3. Pick the plan
Section titled “3. Pick the plan”Click Select once you’ve found the plan you want to use.
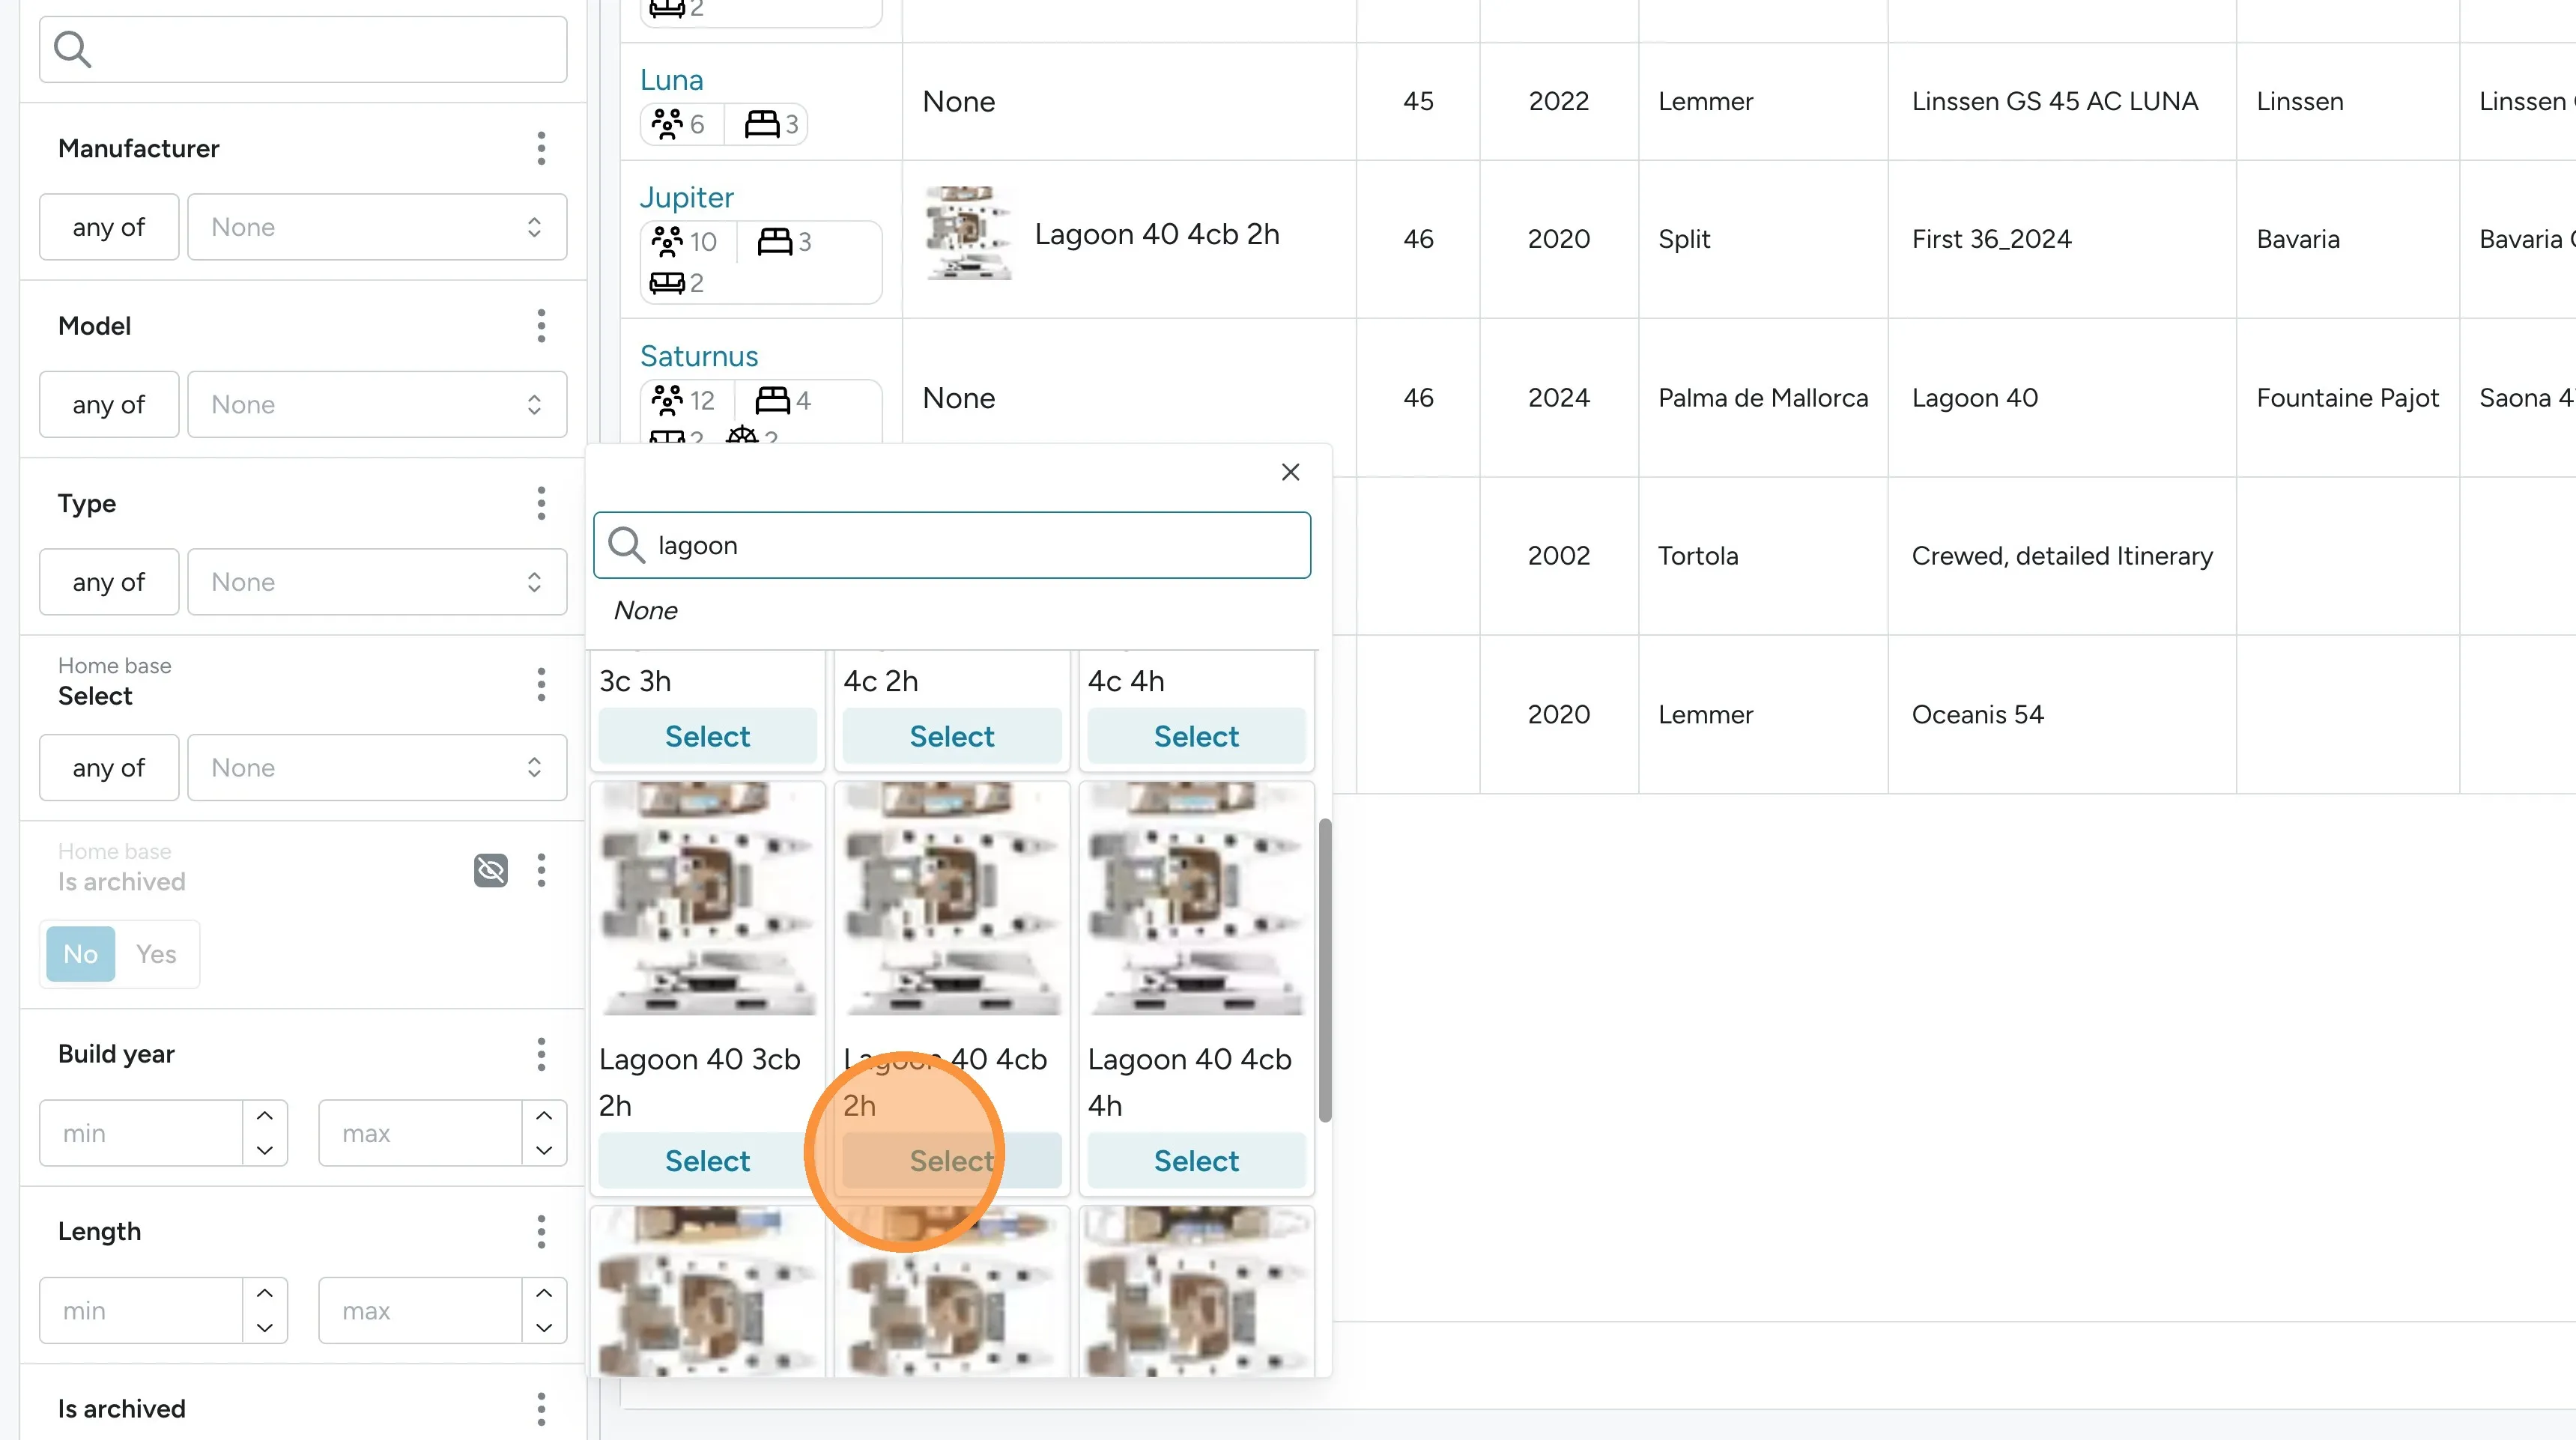
Phase 2: Map configuration items onto the plan
Section titled “Phase 2: Map configuration items onto the plan”4. Open the Configurations page
Section titled “4. Open the Configurations page”Navigate to Settings > Bookings > Configurations, or press Cmd + K and search
for config.
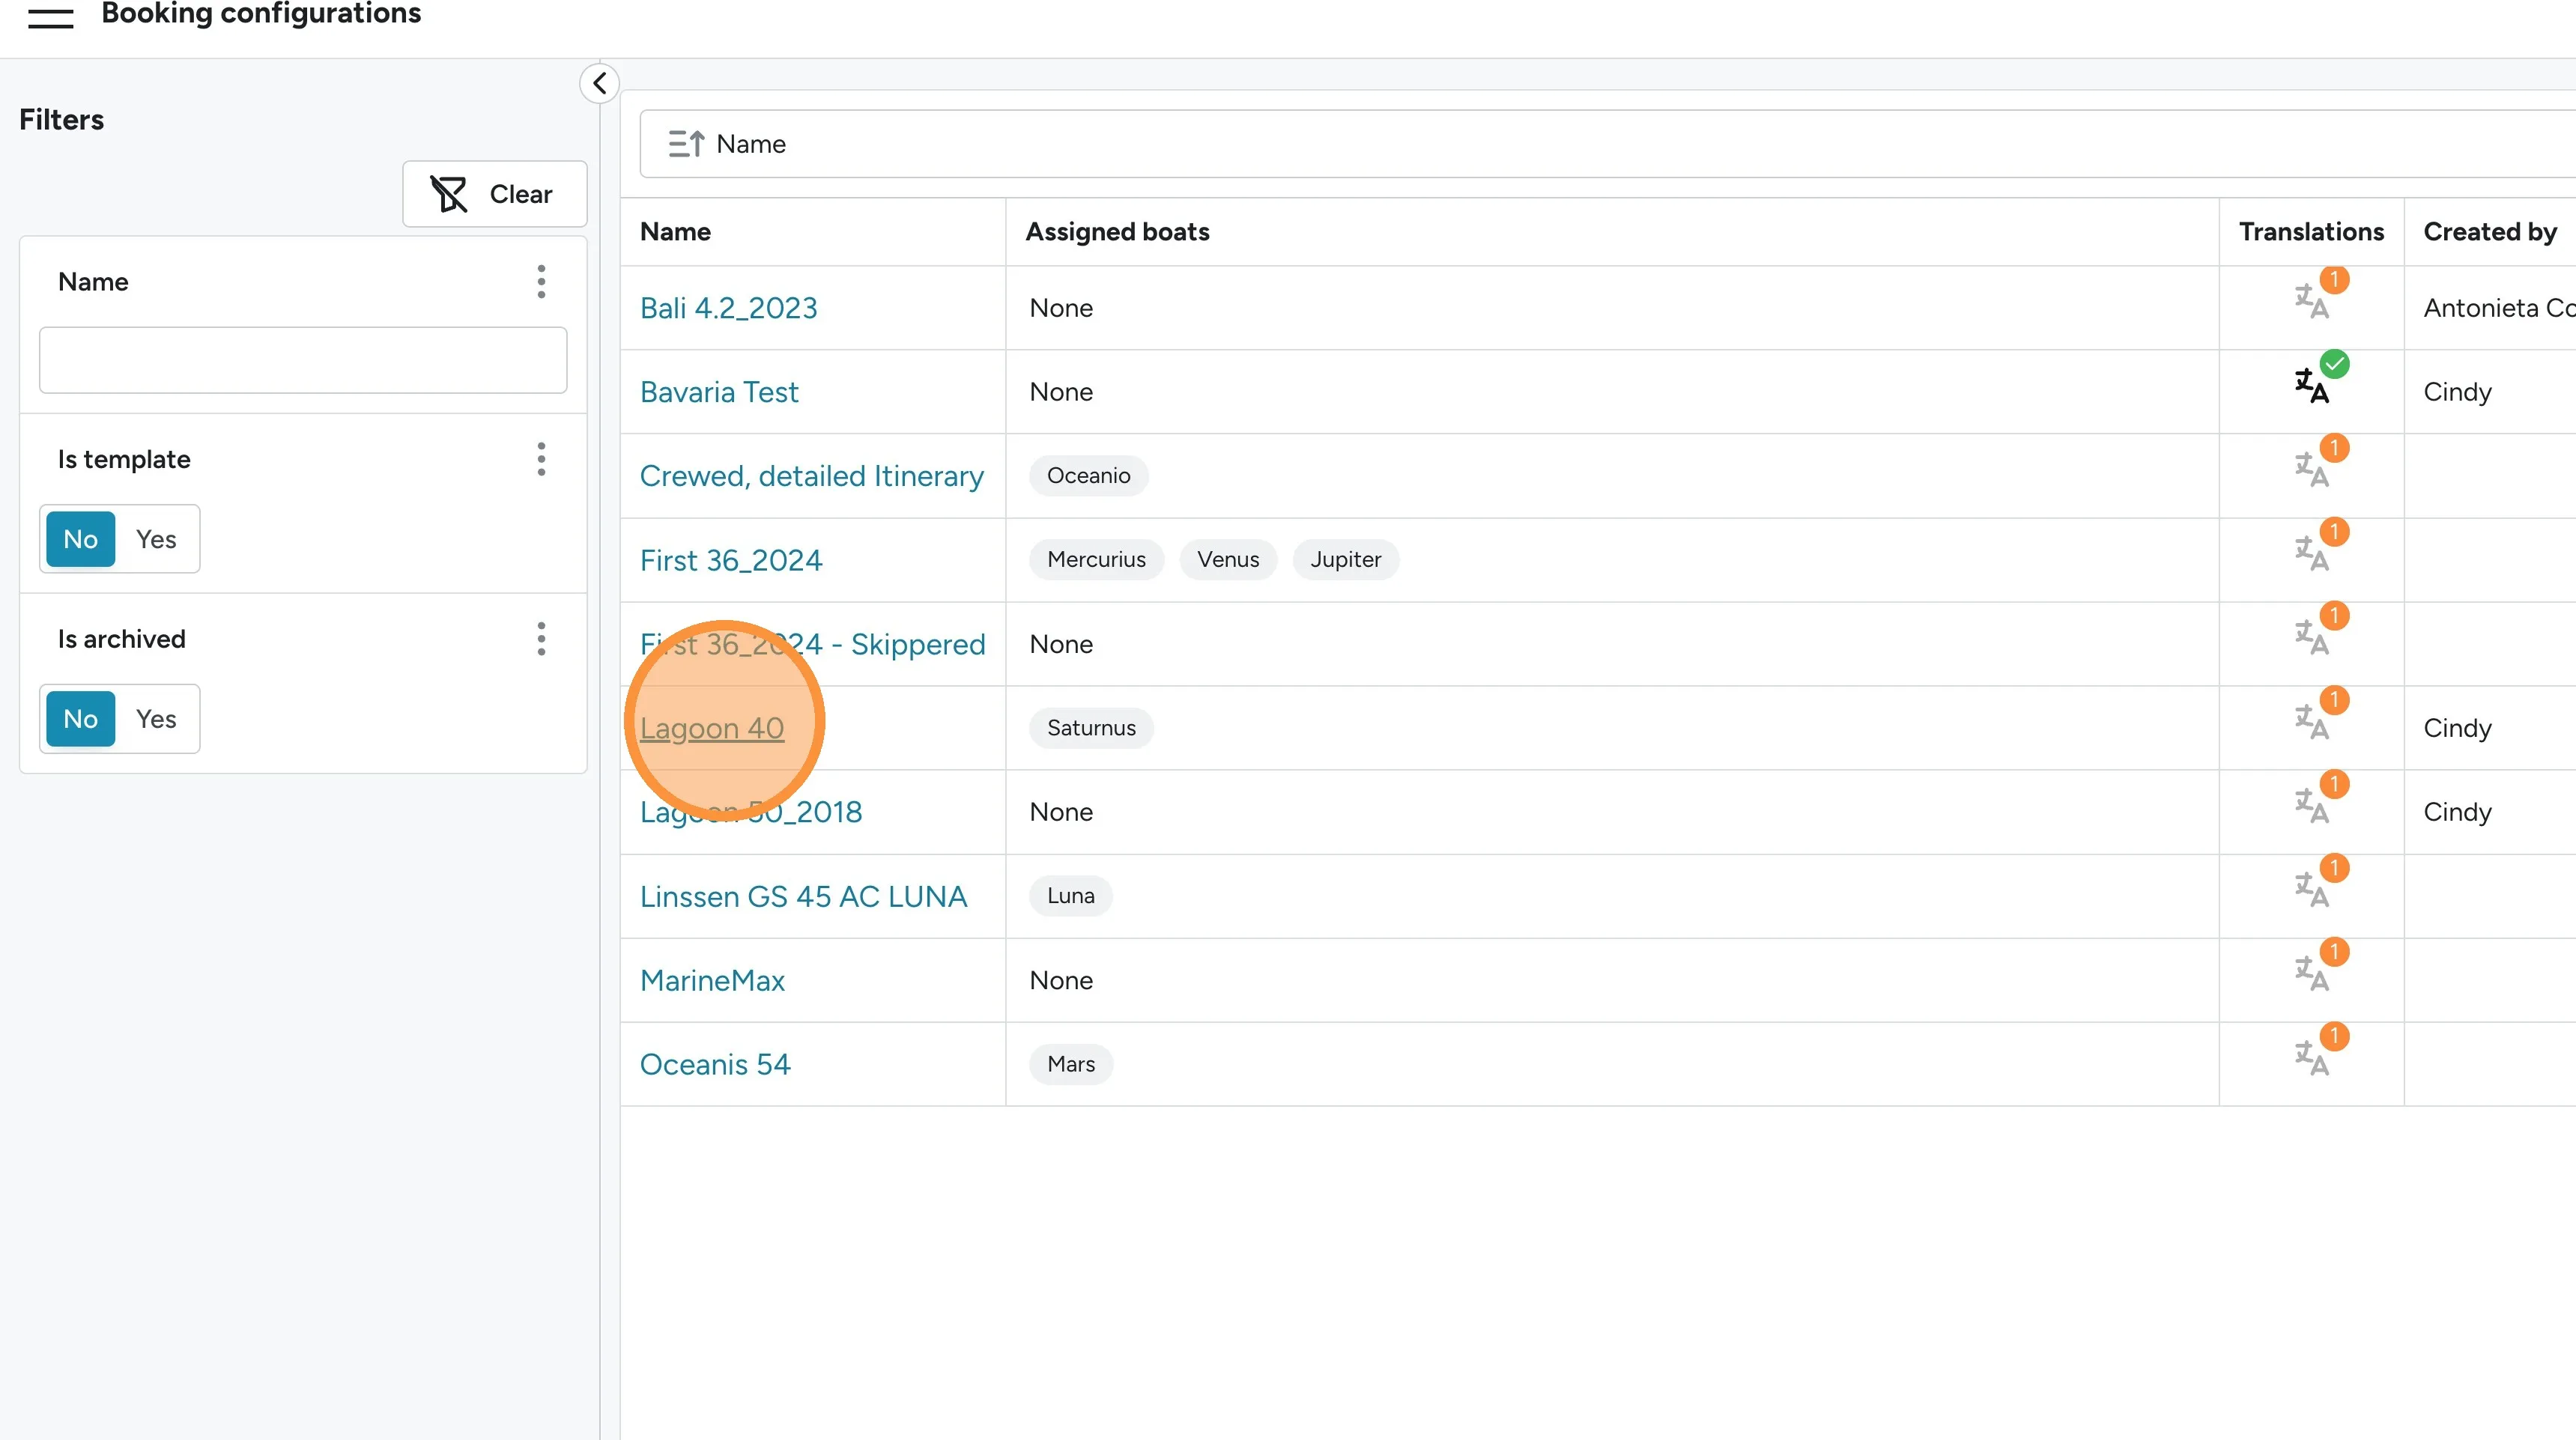
5. Select the configuration
Section titled “5. Select the configuration”Select the configuration you want to map to the floorplan.
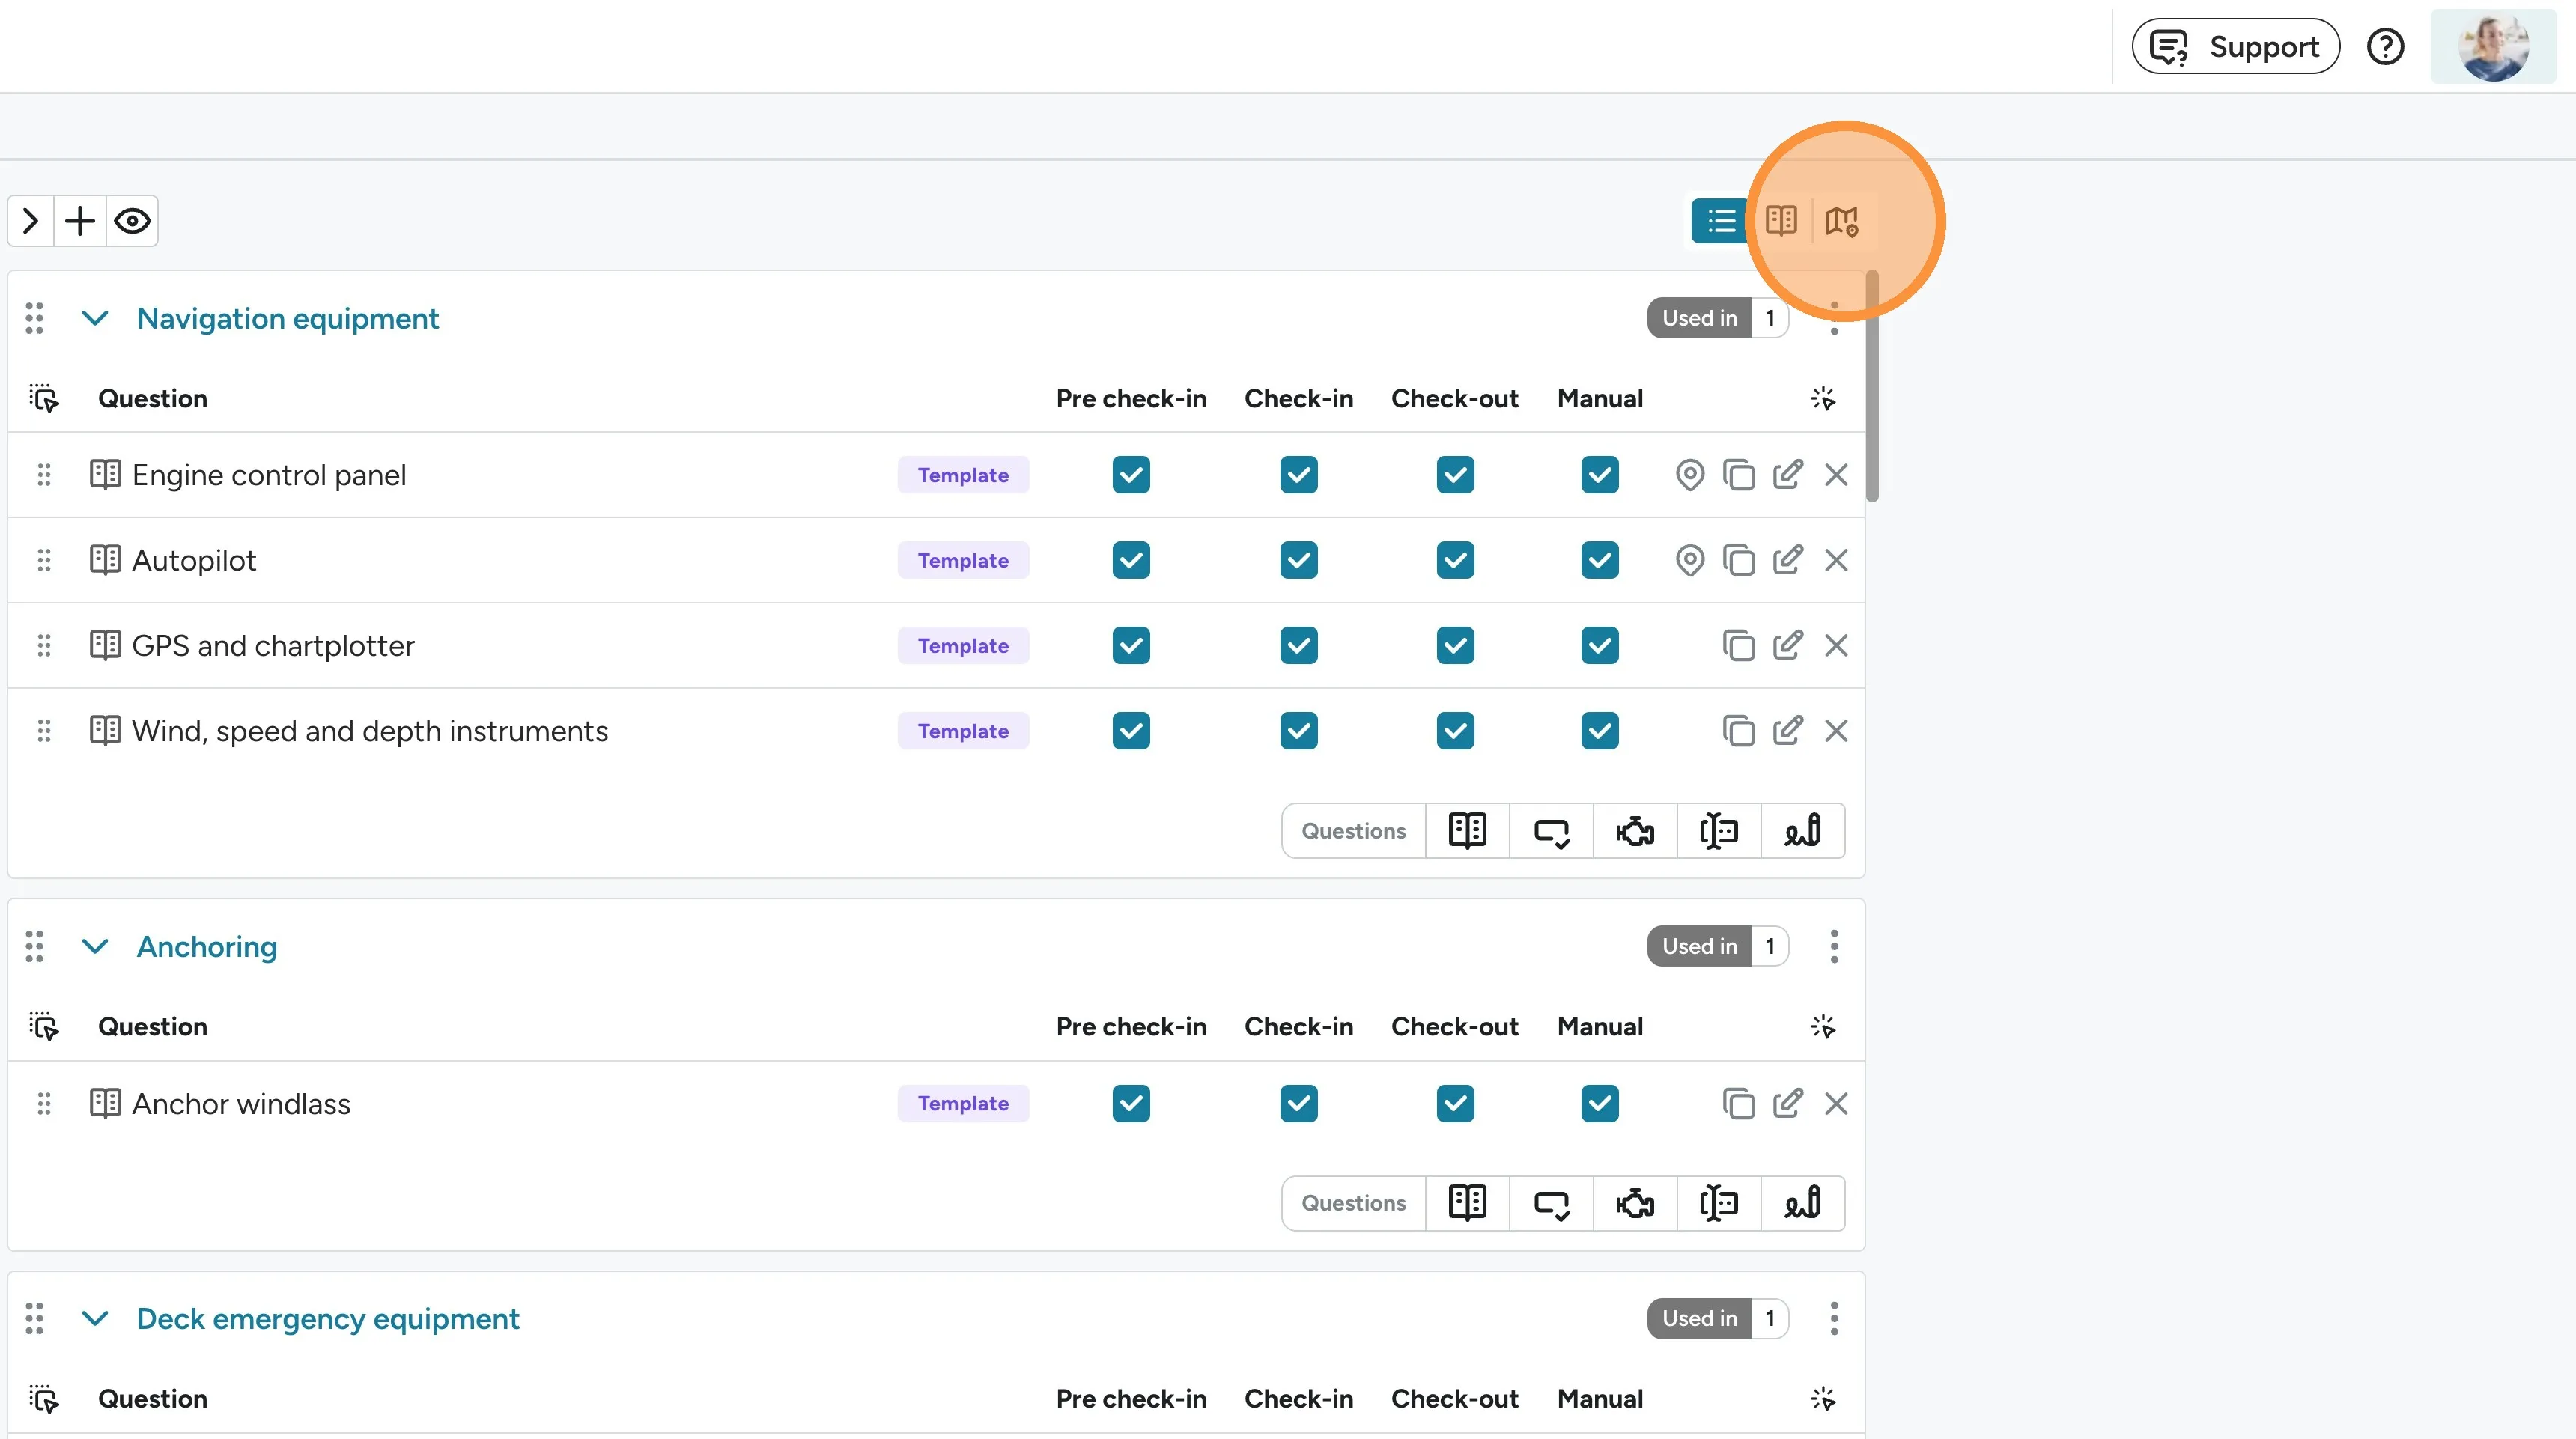
6. Open the plan view
Section titled “6. Open the plan view”Click the map icon.
7. Plot the items
Section titled “7. Plot the items”Click and drag items using the six dots, then drop them on the plan.
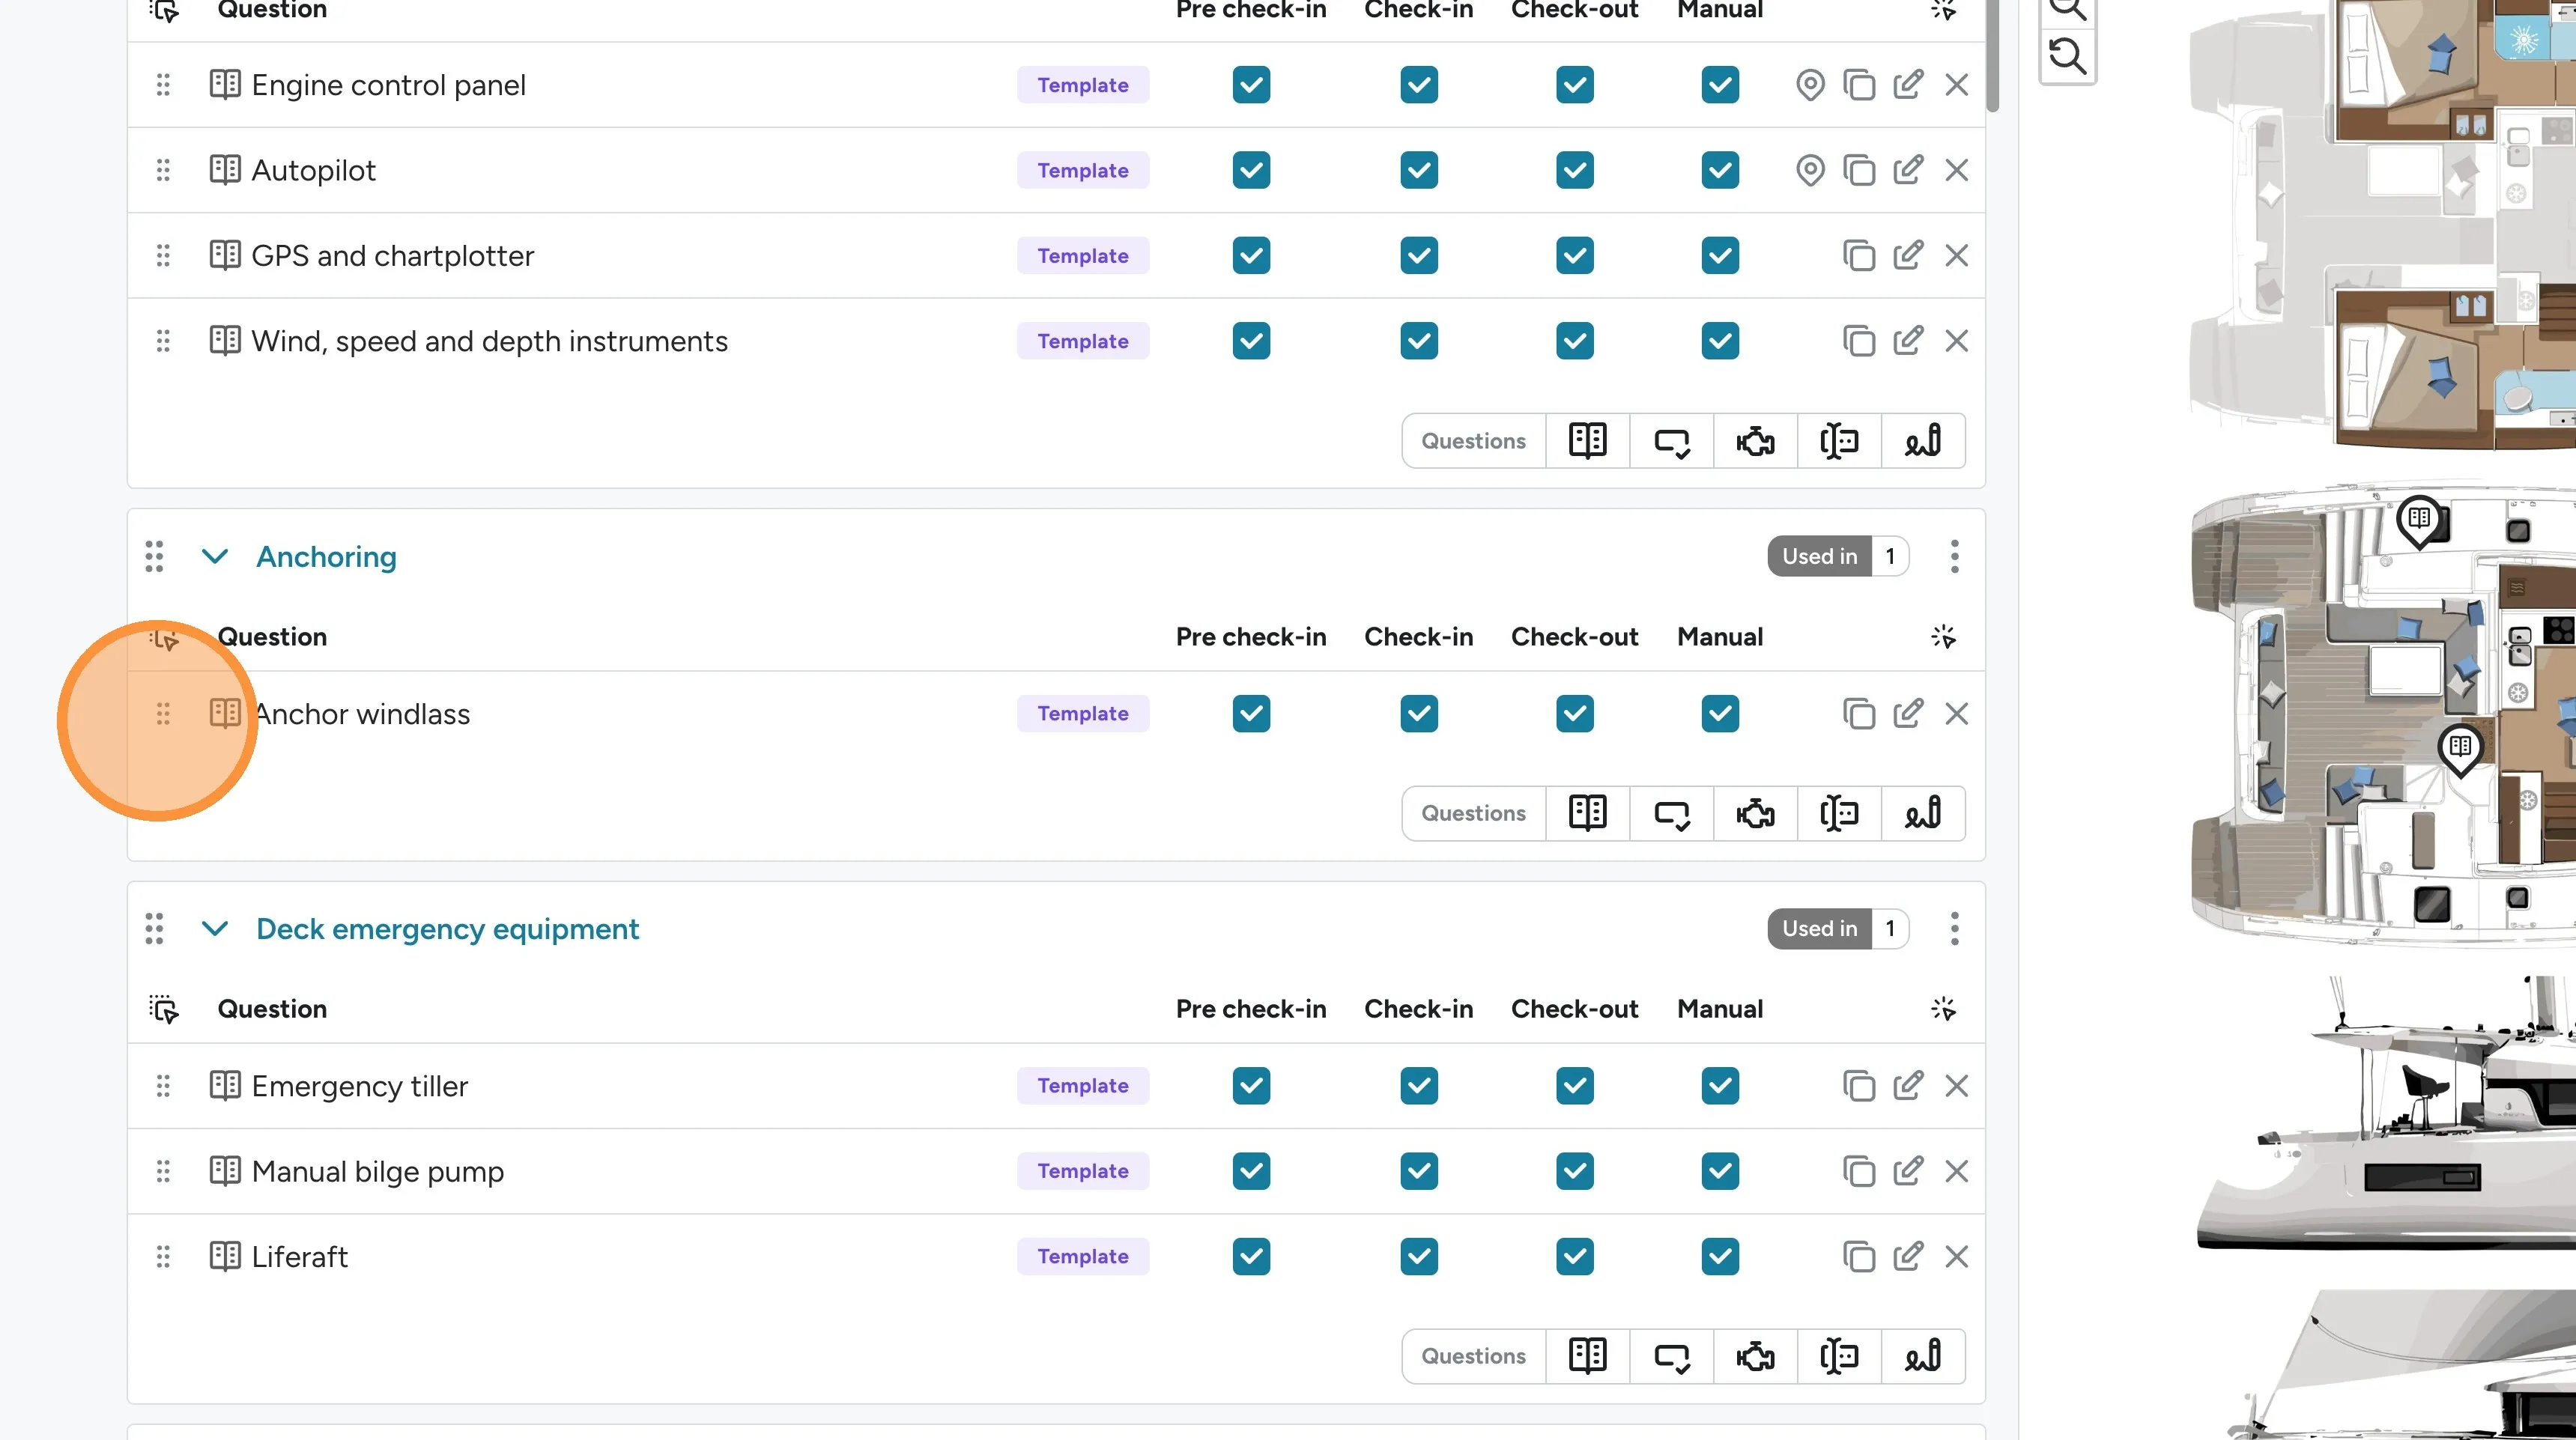
Once items are plotted, the location appears on the checklist during checks — staff and guests can see at a glance where each item lives on the boat.