Rich text editor and translations
Rich text editor
Section titled “Rich text editor”You can take advantage of our versatile rich text editor in many different aspects of the app. It allows you to add text with styling, headings, lists, maps, itineraries and videos.
You can use the rich text editor in the following places:
- Catalogue items (which are displayed in the Checklists and Yacht Manual)
- Base Descriptions
- Yacht Descriptions
- Booking Descriptions
Below the different features of the Rich text editor explained in more detail.
Video embeds
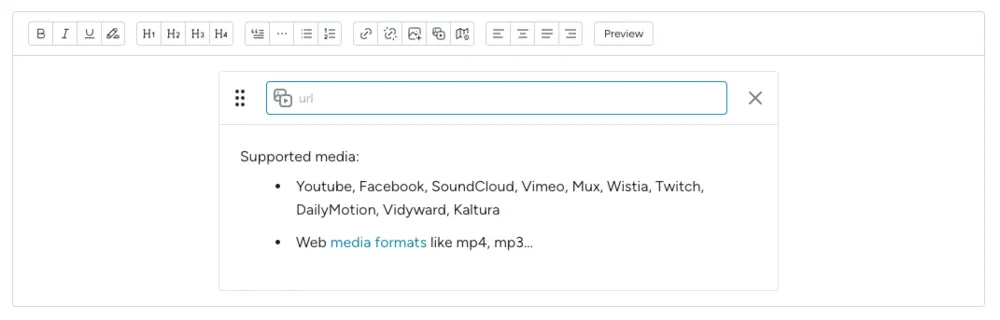
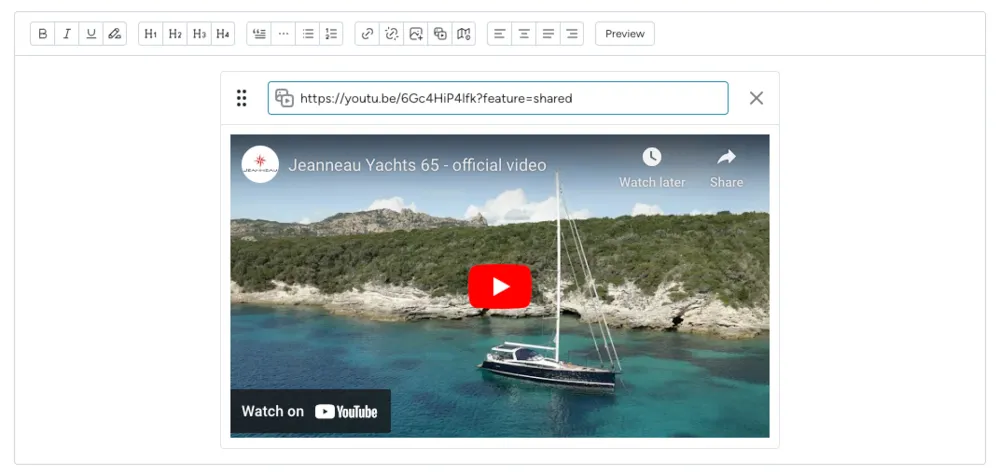
Section titled “Video embeds”To add videos to your text, click the video icon (left of the map icon). The embed editor will show up, where you can add the url to your video.
Using the Google Maps Editors
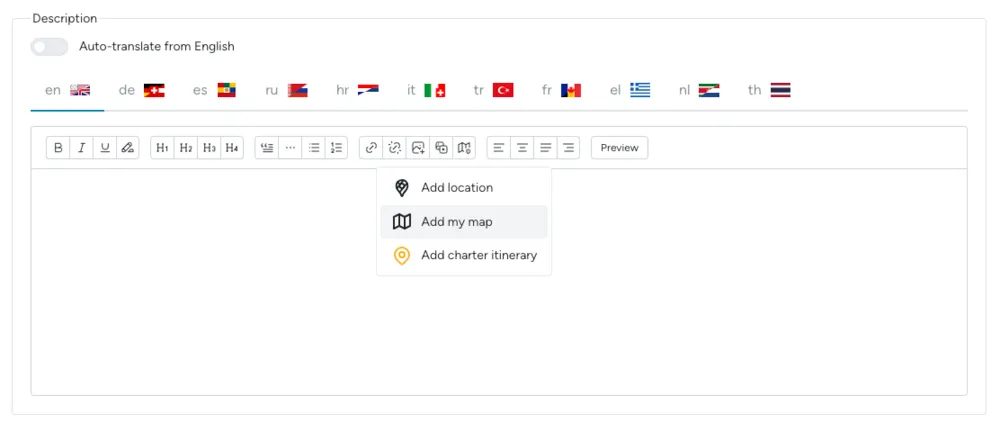
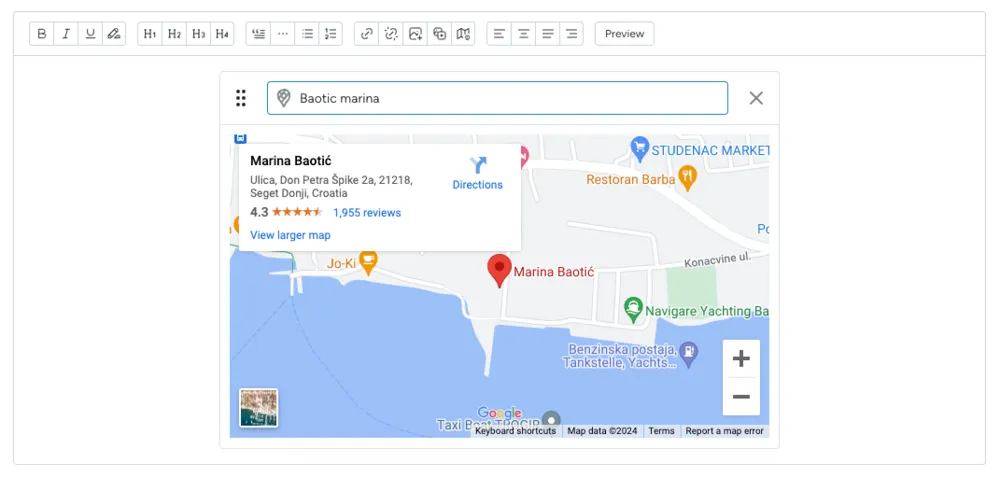
Section titled “Using the Google Maps Editors”Adding a Google Maps Location or a Google Maps Route to any rich text editor in Floatist is as simple as selecting the maps icon in the editor. Then select one of the three options:
- Add location: For a Google Maps Location
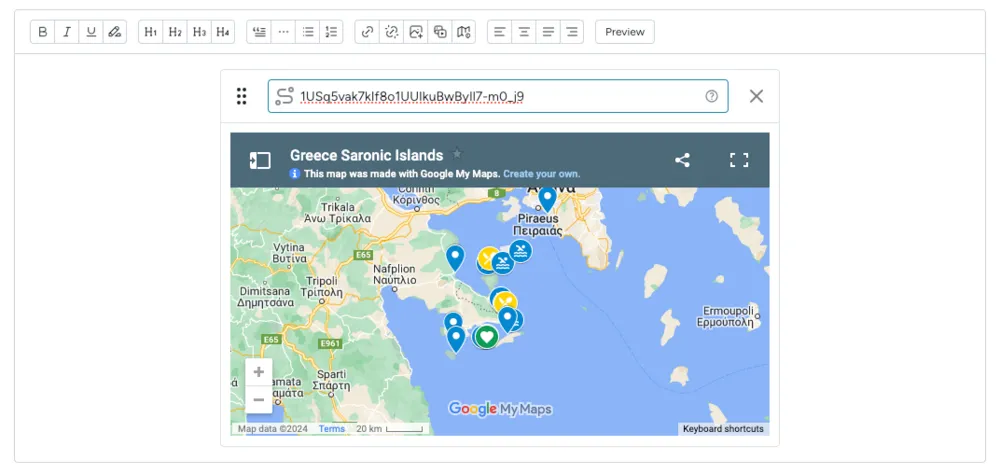
- Add my map: For a Google Maps Route
- Add charter itinerary: For adding a itinerary created using Charter Itinerary
Google Maps Location
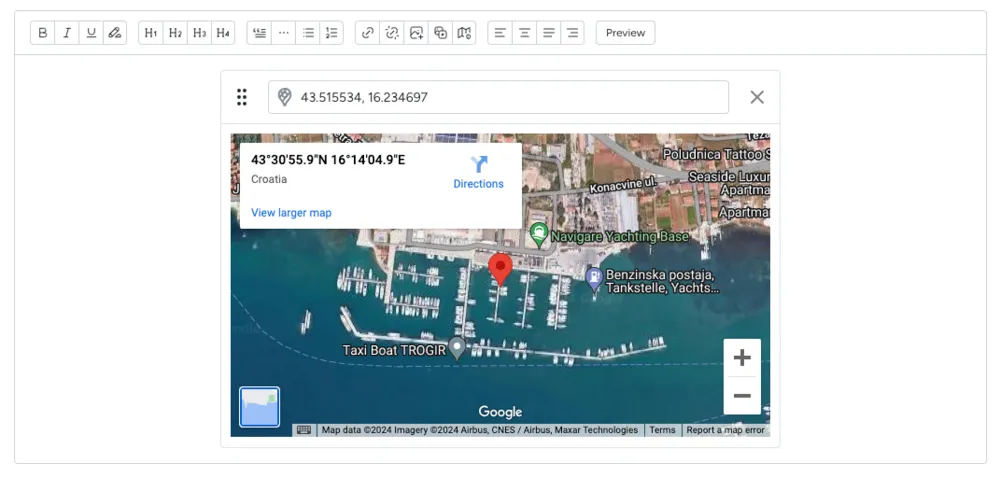
Section titled “Google Maps Location”To add a location, simply type the location as you would in Google Maps. You can also use coordinates. You can choose the type of map you want to display: map or sattelite.
Routes and Itinerary embed
Section titled “Routes and Itinerary embed”- In order to add onw of your own maps from Google, you need to create a map first, which you can do on https://www.google.com/maps/d/u/0/.
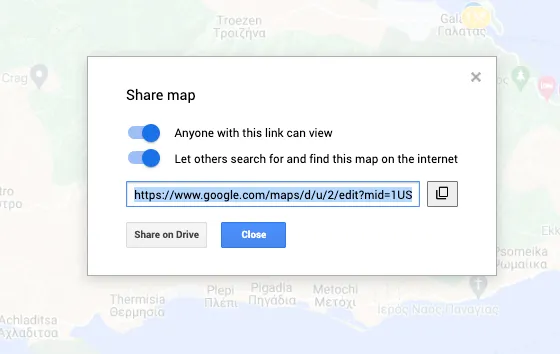
- After creation, click share, and select Anyone with this link can view.
- You then need to copy the MID, which is the id for the map. You can find the id either in the
browser bar (highlighted in below image) and in the copied link, it’s everything after
mid=and before& - Copy the MID in the map editor, and voila!
Internationalization
Section titled “Internationalization”All our apps are fully translated into multiple languages.
Moreover, most of the text fields and descriptions that are visible by guests have the option of being automatically translated from English.
If you are unhappy with the automatic translations and you want to improve the automatic translations, you can also choose to first translate them, and then toggle the switch off again. The made translations will be kept, and you can manually adjust them as you see fit.
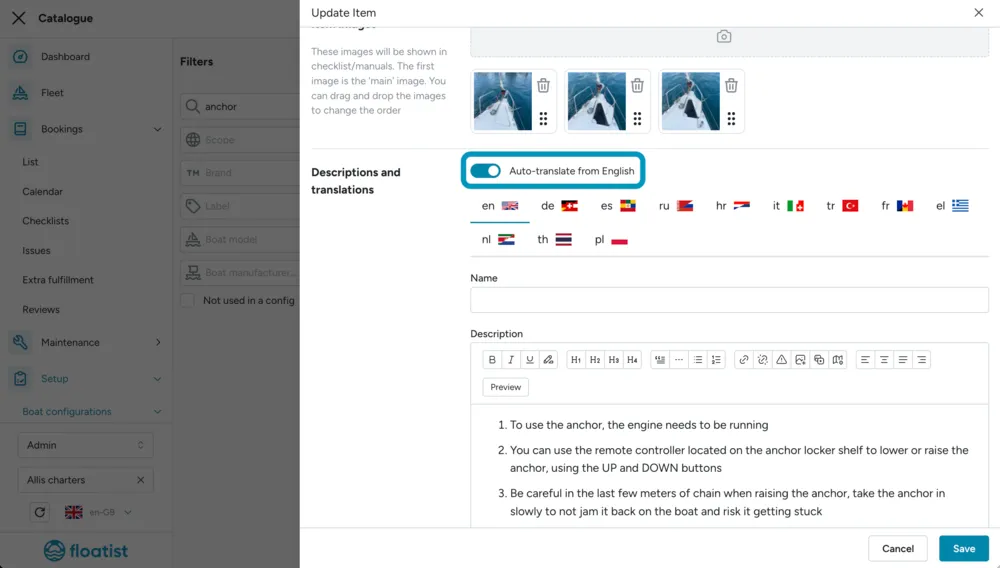
If you want to use automatic translations, you can toggle the Auto-translate from English button
on, and after you save the item it will be translated. If you want to toggle it on for all your
items at once, please contact support and we will do that for you.
Automatic translations are available for the following functionalities:
- Base descriptions
- Yacht descriptions
- Booking descriptions
- Catalogue items (which are used for checklists and yacht manuals)
Descriptions
Section titled “Descriptions”Descriptions allow you to personalize the guest experience by adding rich text content to your bases, yachts, and individual bookings. These descriptions are displayed in the guest app.
Yacht descriptions
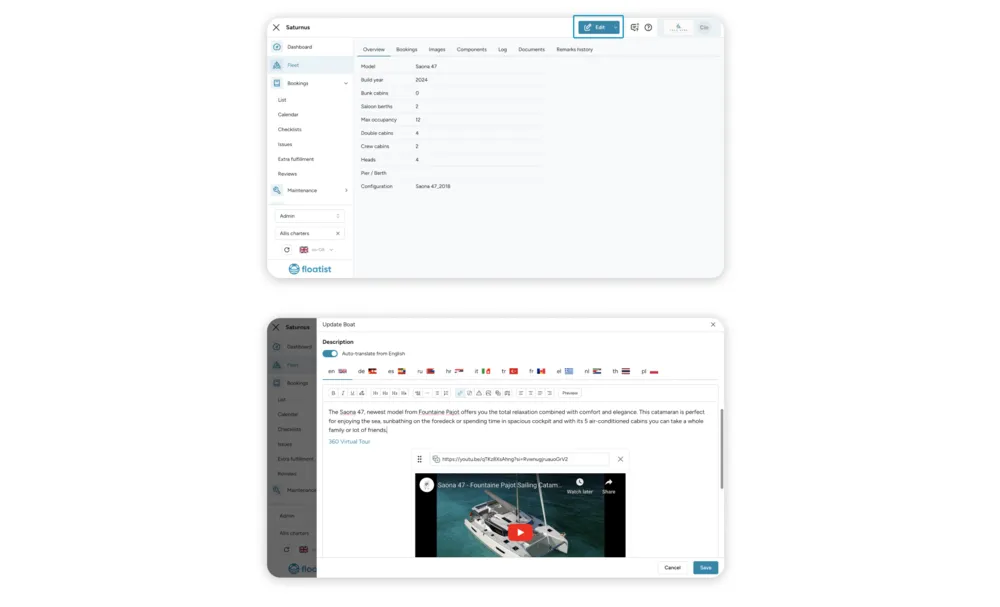
Section titled “Yacht descriptions”We recommend always adding a yacht description. You can go to the yacht description by clicking on Yacht > Click Edit > Scroll down to Description.
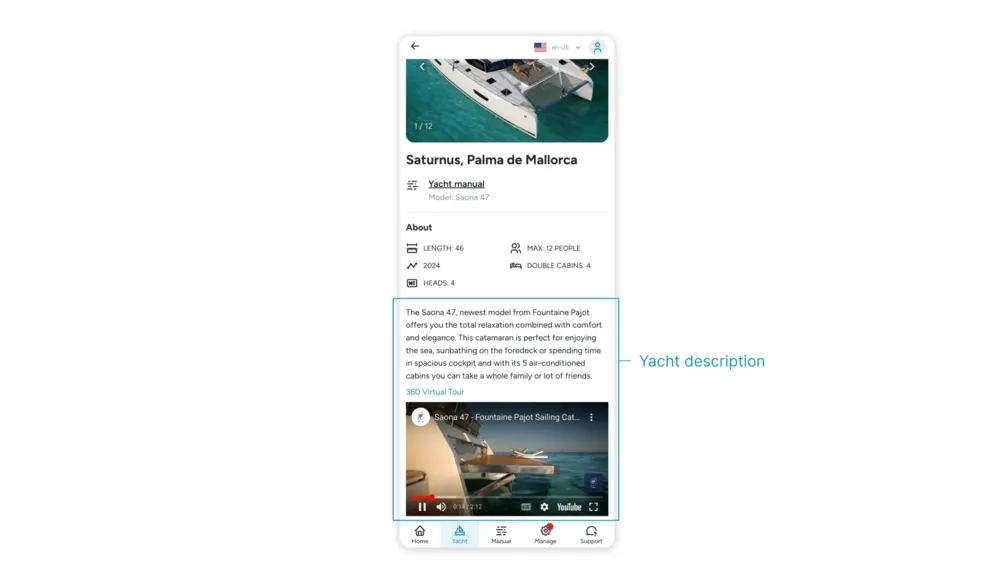
Yacht descriptions are shown in the guest app on the Yacht page:
Base descriptions
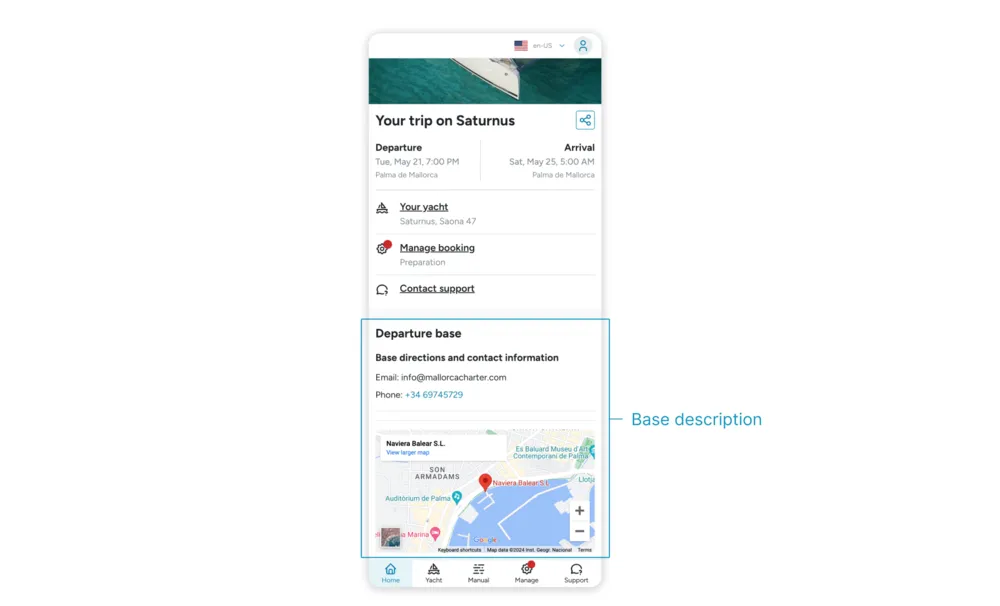
Section titled “Base descriptions”Add descriptions to your bases with text, a Google Maps location, or any additional information guests should know before check-in day. This replaces the PDF you might usually send, giving customers a single place to find all the important details about your base.
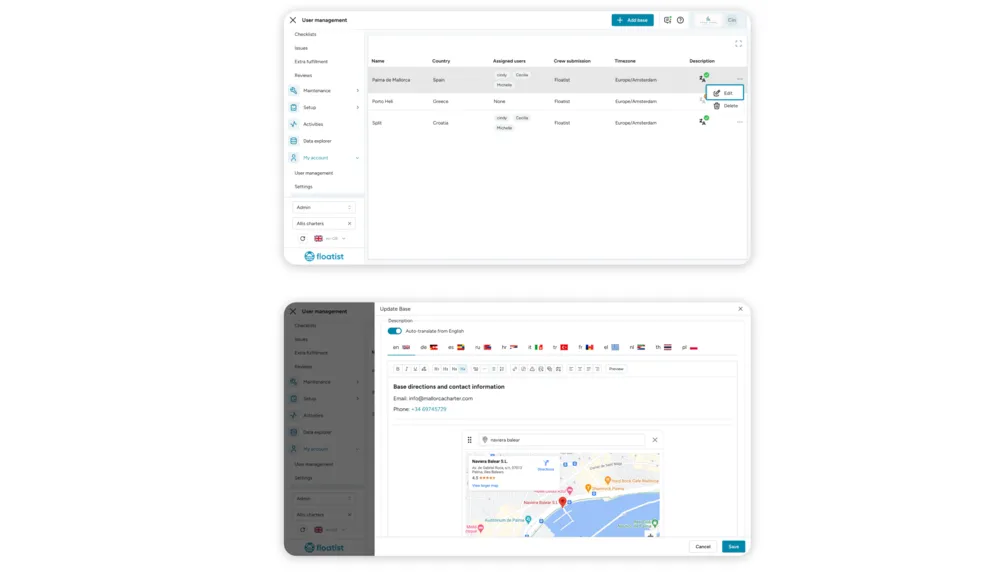
To edit a base description, go to Settings > Bases. Click on the three dots on the rightmost side of the row and select Edit.
Base descriptions are shown on the Home page of the guest app:
Booking descriptions
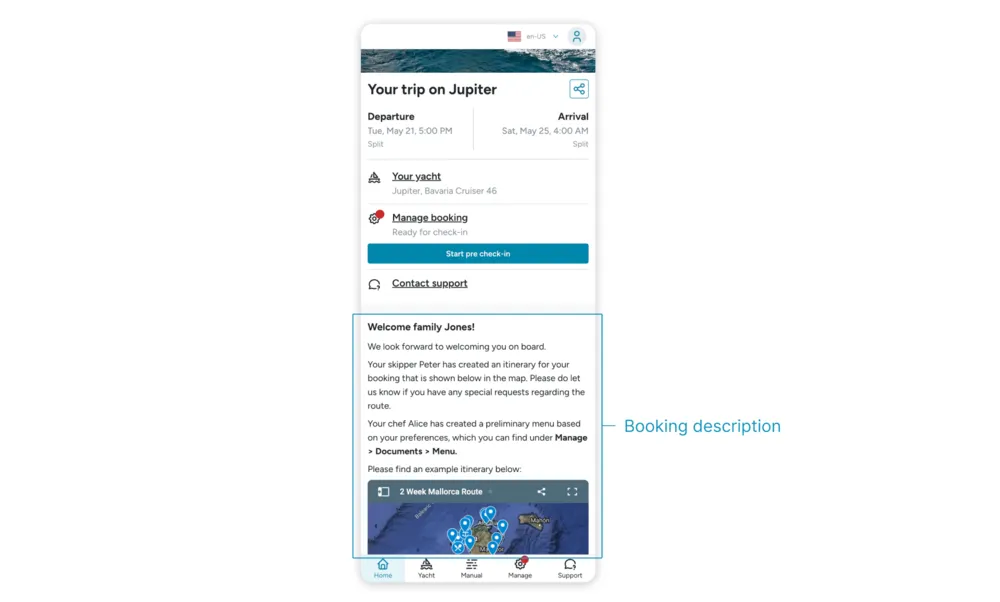
Section titled “Booking descriptions”For an extra personalized touch, you can add a description to a specific booking. This shows up above the base information on the guest app home page.
To add a description to a booking, go to the Booking, click the Three dots on the top right > Edit > Scroll down to Description.
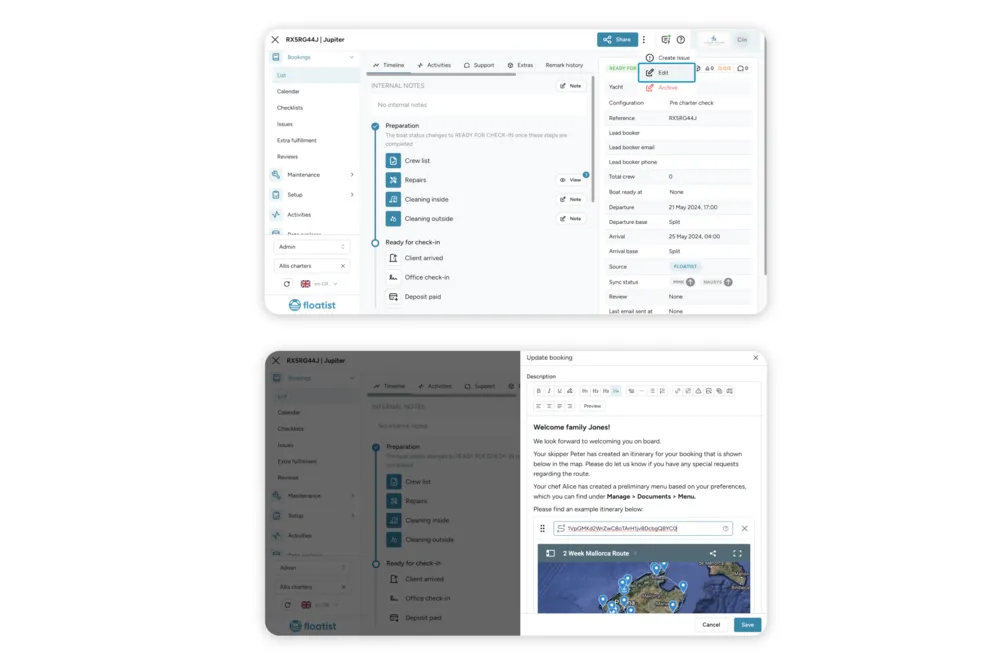
The booking description will then be displayed on the guest app home page: